Category Archives: Behind The Scenes

erin-slate2

The episode that never was…

erin-slate.jpg

Back in 2009 we began working on Digital Photography 1on1 episode 12. It was a follow up to Episode 11, basic lighting setups. However, due to some issues with our camera and unusable footage this episode never went to YouTube. We’ve always shot these episodes on a low budget but back in 2009 the budget was zero. We used older cameras and everything was done on a volunteer basis. So, sometimes things didn’t work out and that’s what happened to the lost episode.

Episode 12 was supposed to focus on one-light setups. Here are a few images that I created for the episode, unfortunately the video didn’t make it so you’ll have to settle for pretty pictures.

WQ2U1193.jpg
WQ2U1356.jpg
WQ2U1527.jpg
WQ2U1752.jpg
WQ2U1925.jpg
WQ2U2213-Edit.jpg
WQ2U1610.jpg

gorman

Shooting Gorman

WQ2U4154.jpg

Last month I shot a short video of Greg Gorman for Xrite. Here’s a short breakdown of the production.

The video was all shot on a Canon XH A1. This is a great little camera and perfect for shooting on location when you need to keep things simple. I only had a few hours to shoot everything so speed and mobility were key.

I used a modified Zacuto newsman kit to help keep things moving along. When shooting on a tripod I used basic Zacuto baseplate and Zamerican arm with a Marshall HD Monitor. When I needed to shoot handheld it only took about 3 minutes to rig the camera for a shoulder mount kit.

WQ2U4100.jpg
The Zacuto rig and Marshall Monitor. The indoor interview was lit using natural light.

WQ2U4141.jpg  
Shooting the studio session.

WQ2U4128.jpg
The Zacuto rig in action.

WQ2U4131.jpg
A closer look at the newsman rig.

I used a Rode NG-3 shotgun mic with a Dead Cat wind screen for all of the audio. I was very impressed at how well the Dead Cat worked so close to the ocean. It was pretty windy and the Rhode gear handled everything perfectly.

WQ2U4108.jpg
The Rode NG-3 and Dead Cat.

Everything was edited in Final Cut Pro and then converted to H.264 for the web using Compressor. And here’s how it all turned out:

casting-height

New Episodes on the Way

Our first video update via iPhone.

We’ve been working on a bunch of new Digital Photography One on One episodes and we’re set to begin production in 2 weeks. We have some really great episodes one the way. The scripts are written, locations have been scouted, and now we’re down to casting models and getting all the wardrobe in place.

Yesterday we held a casting call and took a few “polaroids” (OK, they were digital) of the models and also had them do a short screen test. We’re looking for models that are great in print and in front of a video camera. One of the funny exercises we did was to have each of the models stand next to me so we’d be able to judge height. When we frame videos it’s important that the model and I are about the same height. It’s good for composition.

casting-height.jpg

Today we’re meeting again to go over all the screen tests and polaroids, take a second look at portfolios and make a final decision about which models we’ll be using for the videos. Shooting begins July 28 and the first video will be posted soon after.

We’re also trying something new to give you a behind the scenes look at how it’s all done. We’re shooting a bunch of quick iPhone videos along the way. If you like them we’ll keep making more for other projects as well. Let us know what you think!

Revenge

If you’re familiar with fashion photographer Ellen Von Unwerth then I’m certain you’re also familiar with her book Revenge. A couple of weeks ago Diane and I were invited to visit Riaz at Grand Photo Solutions. Riaz is the guy who printed Von Unwerth’s images for her book Revenge.

_S2B0858.jpg
Riaz and Mark holding a signed copy of Revenge.

_S2B0862.jpg

Riaz gave us a quick tour of GPS and we were able to see a bunch of amazing prints and meet some of his staff. GPS is able to do just about anything. They have some amazing large format printers and can do canvas, vinyl, coroplast and other things. They print albums and have a graphic designer as well.

Thanks for the tour Riaz!

Studio Lighting in NYC

If you’ve been following me on Twitter then you’ll know that I’ve been spending a lot of time in New York lately. A couple of weeks ago Diane and I were able to take Studio Lighting 101 to Manhattan. Here are a few shots that Diane took during the day.

_S2B0905.jpg
Mark explains metering to the group.

_S2B0968.jpg
Mark explaing another lighting setup while students get ready to set it up.

_S2B0952.jpg
Caterina strikes a pose.

_S2B0926.jpg
Students take turns shooting with the Profoto D4 and 6 foot softbox.

_S2B0907.jpg
Mark explains a few camera settings.

_S2B0910.jpg
Students helping each other out.

_S2B0893.jpgMark sits next to Caterina as he explains the calibration target.

_S2B1012.jpg
The obligatory group shot at the end of the day.

On Location with PocketWizard

I’ve been shooting a bunch of tutorial videos for PocketWizard over the last three weeks. while we were on location I wanted to give a very quick overview of one of the setups. Here’s a quick one minute video that shows how easy it is to use the new Mini and Flex.

You can see exactly what the flashes are doing by looking at the shot that was taken with Ab, our cameraman, in the shot. The background was much brighter than the foreground and the flashes really make the shot.

WQ2U8583.jpg

Click here to read more about PocketWizard wireless triggers.

liveBooks Update

logo-livebooks.gif

Last month I mentioned that I was making the switch to liveBooks. In that post I outlined my reasons for choosing liveBooks, if you’re considering a new portfolio I encourage you to read that post to see if liveBooks is a fit for you.

Several people on Twitter have asked me how the switch was going and if I would give a short update on the process so far.

Note: You can follow liveBooks on Twitter: @liveBooks

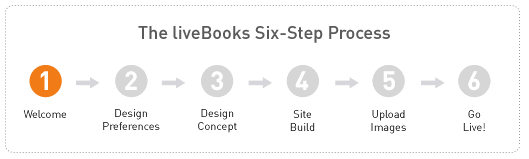
In a nutshell: the process is great. The liveBooks staff has been terrific and I’m well on my way to having a new portfolio up and running. After my initial consultation with Cory, my sales rep, I was sent en e-mail with the entire process that we’d follow:

Picture 1.png

Within minutes of signing up for liveBooks I was sent my welcome package. It contained all the information I needed to get started with my new liveBooks site, detailed information about the design process, a User Guide, and specific instructions for preparing my images.

Welcome

The welcome package is pretty cool because it not only outlines everything that I get with my site but it has tons of tutorials and information about how to use the site once it goes live. I’ve been optimizing photos, preparing videos, talking to my designer, and getting very excited about my new site.

The first thing they asked me to do was tell them everything I wanted out of my site. The fonts, the colors, the look and feel, sites that I like, sites I hate, inspirations, information about me, what I do, where I’m going, how I do business, the name of my dog. These guys use every bit of information to create something unique.

Starter Site

The design coordinator took all of my information and assigned a person to work with me to design my site. The wait was a couple of weeks since the liveBooks staff is pretty busy right now. The cool thing was I didn’t have to sit on my hands during that time. Taylor, the Production Coordinator, set me up with a starter site. It’s a fully functional liveBooks site that allows me to upload photos and learn all about the editSuite. I’ve been working on my images and portfolio since day one.

Design Preferences

Brandie.jpg.jpeg
Brandi Mata

Last week I got an e-mail from Brandi Mata, my Designer. She told me she’d read all of the information I’d submitted in my design preferences and set up a phone consultation (I requested this). Before the phone call she sent me a clear agenda of what we’d talk about:

  • Overview of the entire design process.
  • Expectations.
  • Review Design Preferences.
  • Questions.
  • Next Steps.

When she called I was very happy to hear that she’d not only read all of the information I’d sent her but she’d also done some research on her own to figure out who I was. She’d watched my videos, looked at my current portfolio, surfed our blog, and even looked at Diane’s work as well. She wasn’t just prepared for our meeting, she was well prepared. Bonus points to Brandi!

Brandi asked me clarifying questions, offered suggestions, and then told me she was ready to get to work. She is now working her magic and creating a design just for me. She’ll have that ready in a few days. This is considered the “Design Concept”. I’m allowed four “revisions” before the site goes live. After the initial concept is ready I’ll take a look, offer suggestions, and then Brandi will go for round two. Once everything is locked in the site will be built and then we’ll go live.

That’s where I am in the process today. I’ll keep you posted as things progress.

As I noted in my last post, Corey Miller at liveBooks helped me with all of the information and spent a lot of time answering my questions. If you’d like to know more about liveBooks I suggest you give him a call: 714-408-4543 or send him an e-mail: corey@livebooks.com
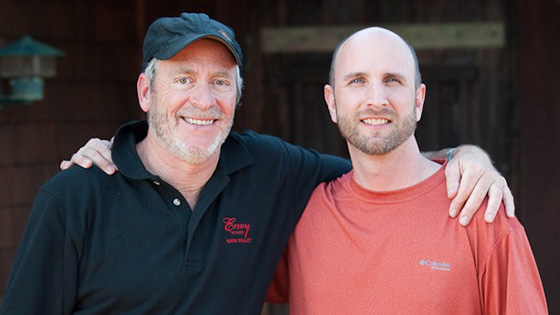
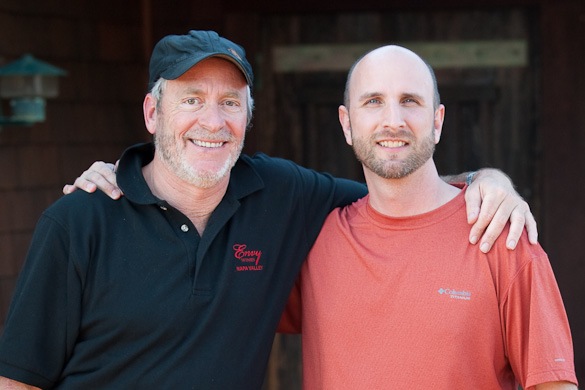
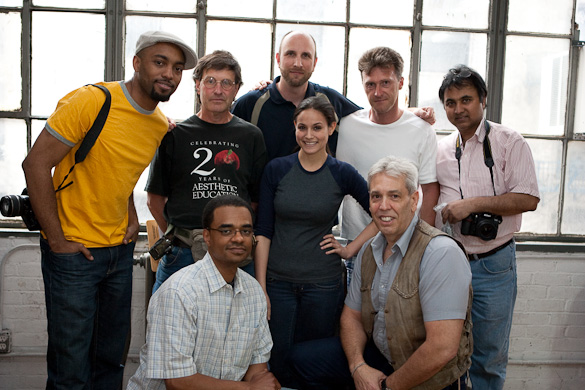
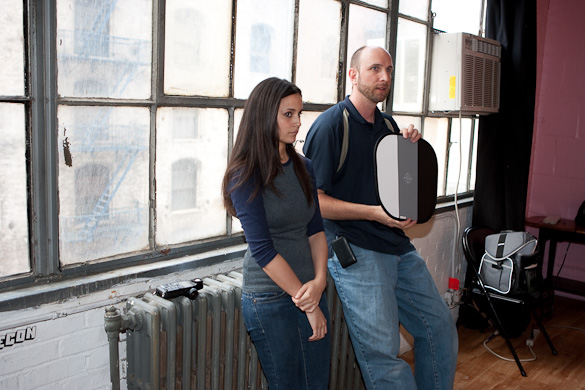
1 2 3 5