This workshop is a step-by-step walkthrough of Lightroom 4, perfect for the beginner as well as those who have worked with Lightroom previously. This workshop is everything you ever wanted to know about Lightroom but were afraid to ask. This workshop contains more than 7 hours of content!
This workshop is available for download now!
Price: $30USD
Product is a digital download. You will not receive a hard copy.


This workshop will give you an overview of Lightroom 4 and show you how to maximize it’s potential by creating a workflow for importing, keywording, adjusting and exporting your images.
Topics covered in this workshop:
- How Lightroom keeps things organized – the catalog system
- The Library module: importing, keywording, metadata, organizing and more
- The Develop module: making global and local adjustments, using the tools, using and creating presets
- The Map module: organizing your photos geographically, privacy setting
- The Book module: creating a book from scratch
- The Slideshow module: creating a slideshow, creating presets, strategies for increasing your income using the slideshow module
- The Print module: creating prints, managing color, proof sheets for clients
- The Web module: creating galleries for online viewing
In addition to the modules Mark will be covering:
- Export options: creating presets for specific jobs
- Watermarking your images
- Using Publish Services
- Integration with Photoshop
- Tethered shooting
This is an information packed workshop. Don’t miss out!
Here are a few screenshots from the video.
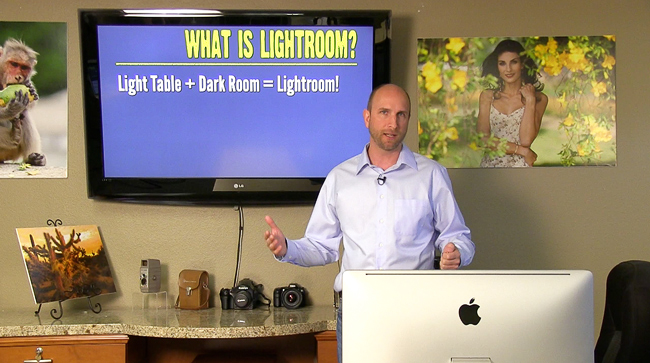
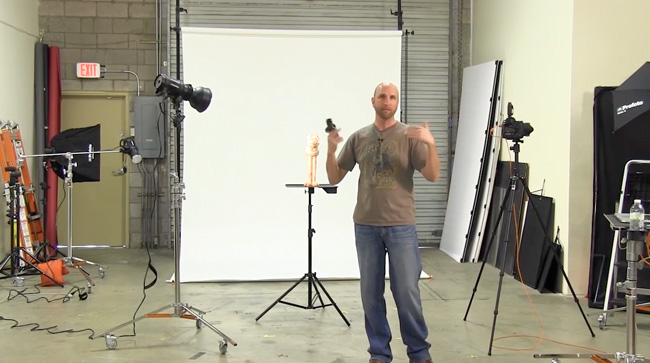
Mark explains the foundation of Lightroom 4.
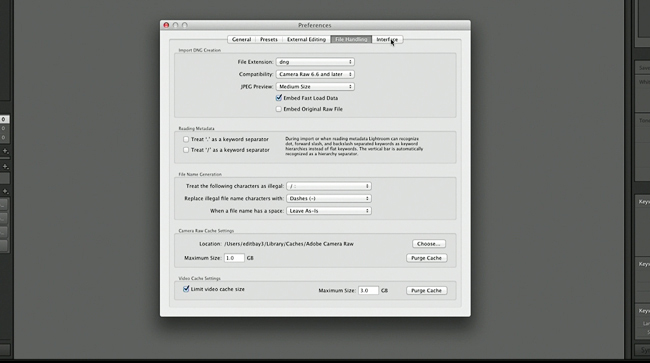
A step-by-step explaination of the preferences panel.

Mark dives into the importing process.
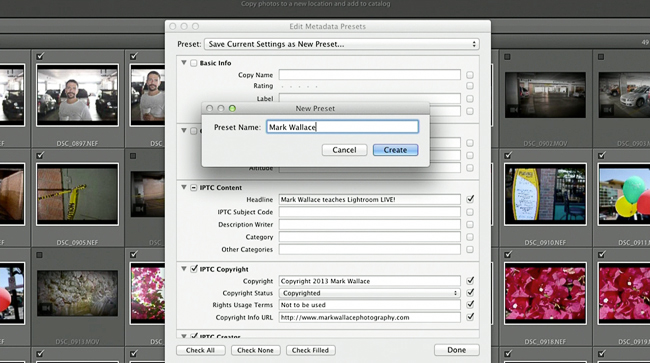
Lightroom allows you to embed copyright data upon importing.

The importing screen has many options to streamline your workflow.
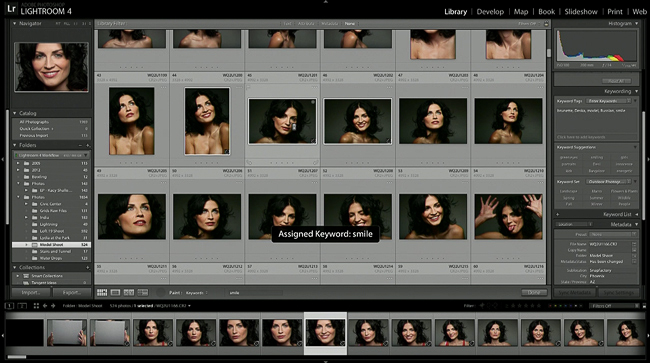
Mark demonstrates many ways to assign keywords to your photos for quick sorting.
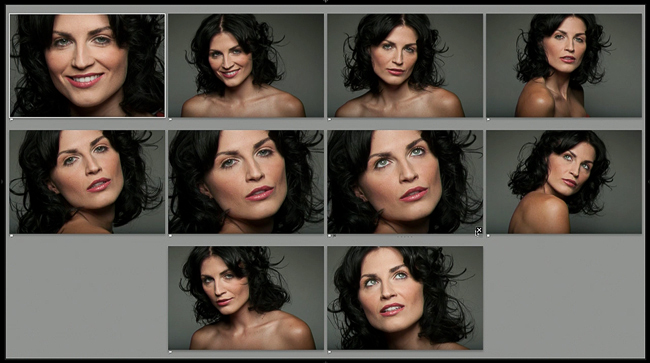
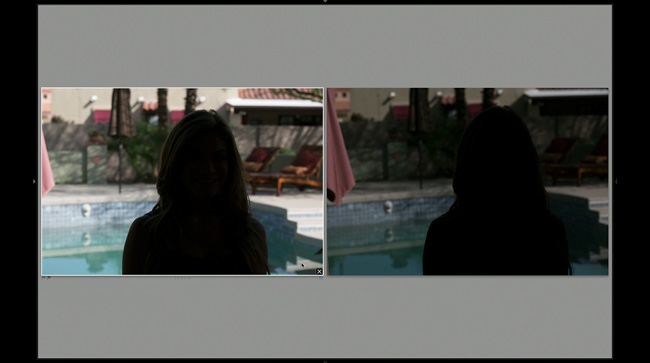
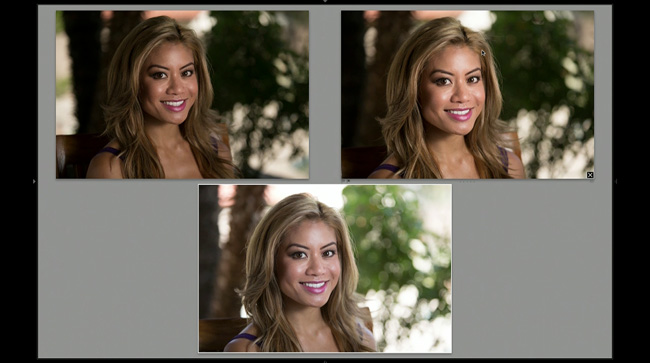
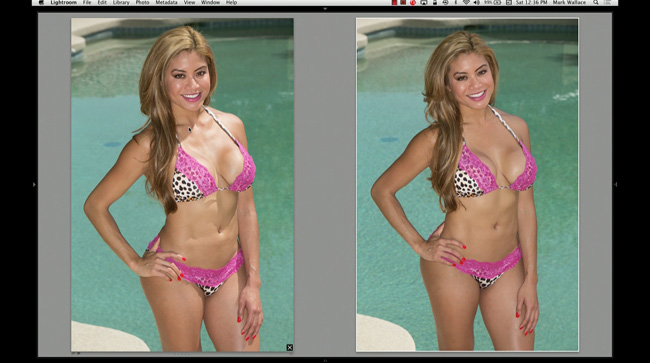
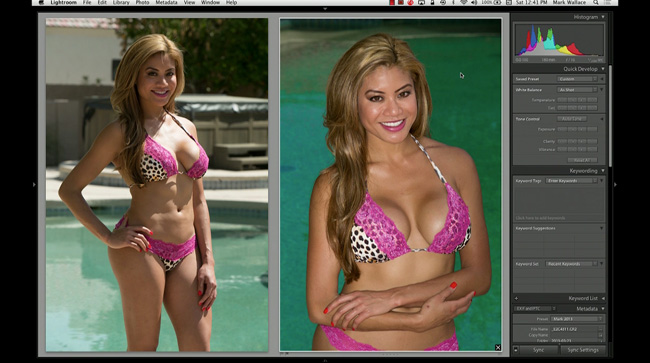
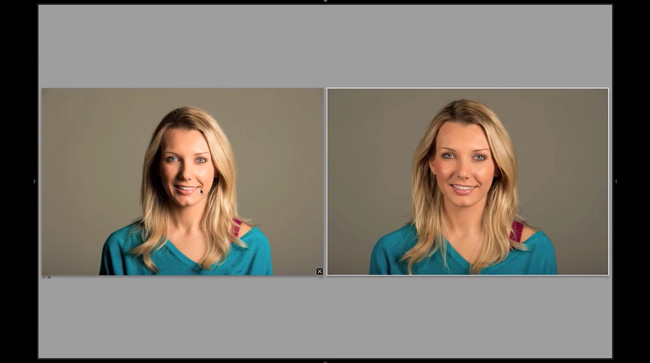
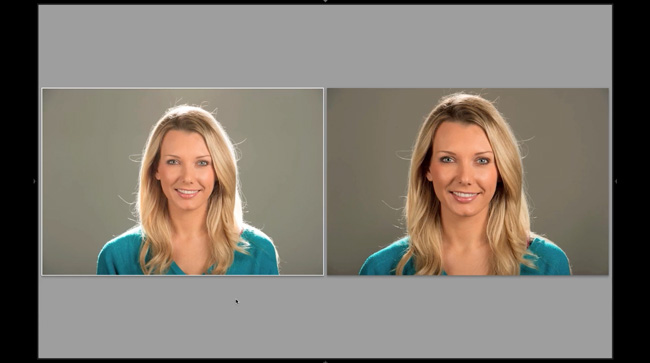
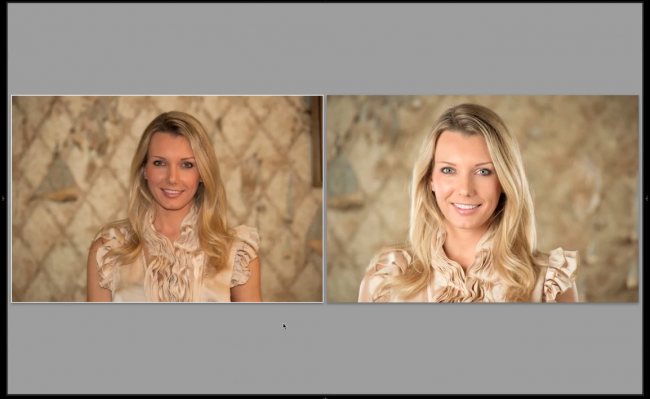
This is one of the views in Lightroom to help compare multiple selected photos.

Collections are used to prep selected photos for output to books, the web, etc.
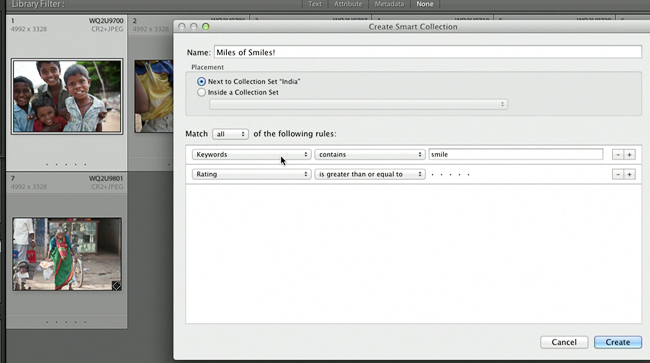
Smart collections automatically gather photos with certain keywords, ratings or metadata that you choose.
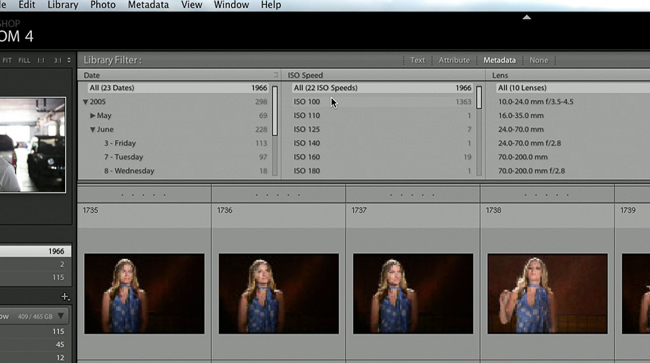
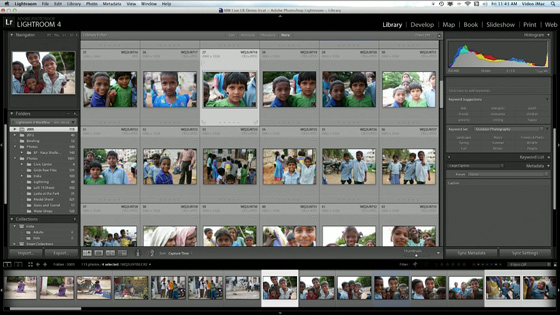
Mark demonstrates how to sort photos in the Library module using different filters.
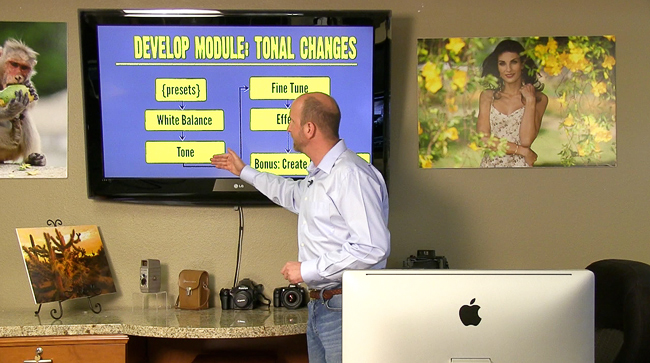
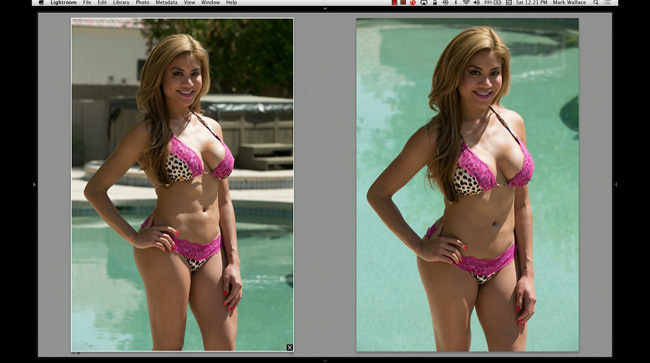
The next big part of Lightroom is the Develop module, and Mark explains how to adjust photos.

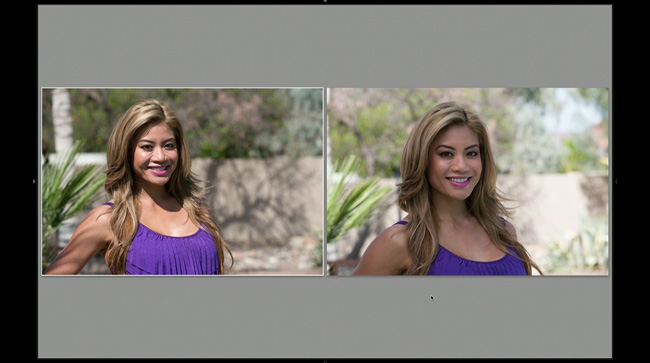
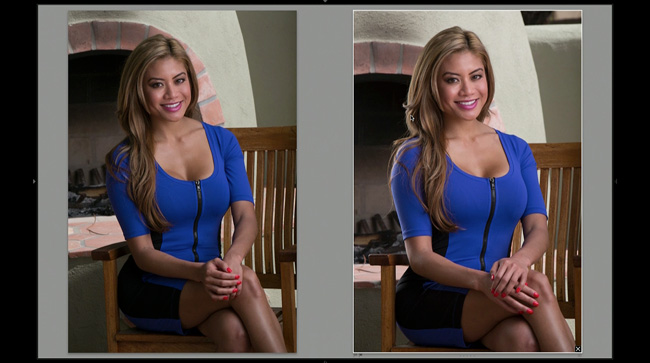
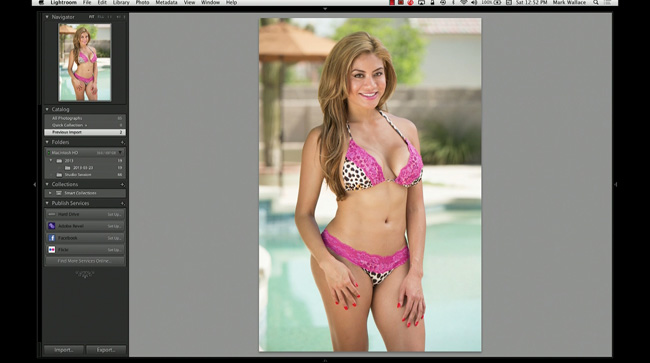
Using the Develop module, Mark saturates the colors and crops this image.
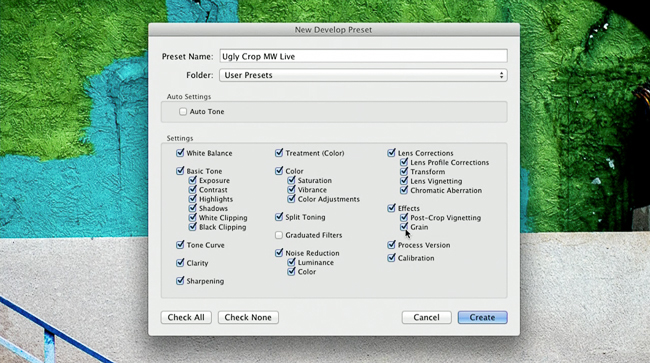
Presets allow you to quickly batch edit photos, and Mark shows you how to create your own.
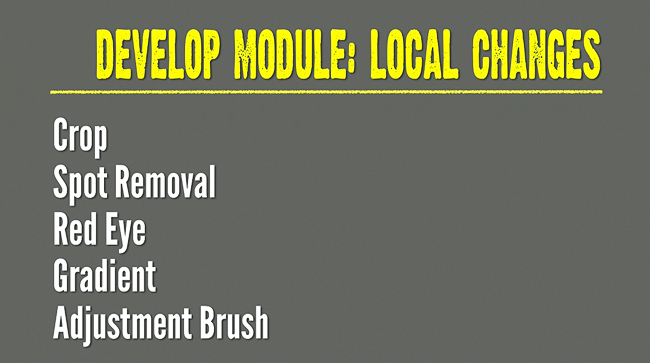
Mark walks through using some of the local adjustments that are similar to those in Photoshop.
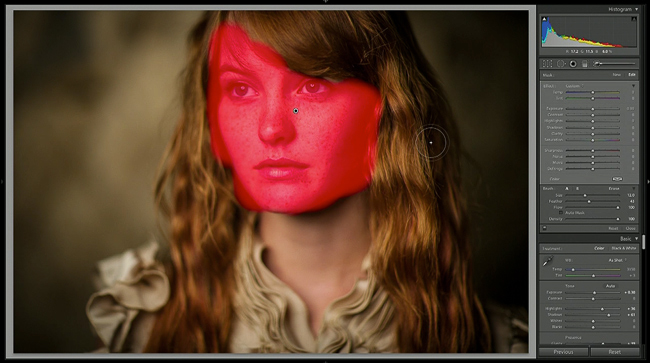
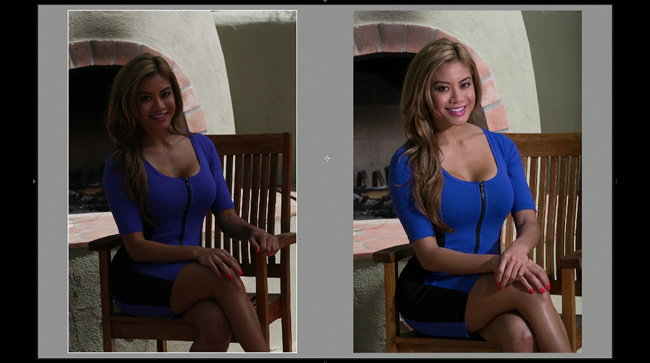
Lightroom creates masks to allow for local adjustments to exposure, contrast, color, and more.
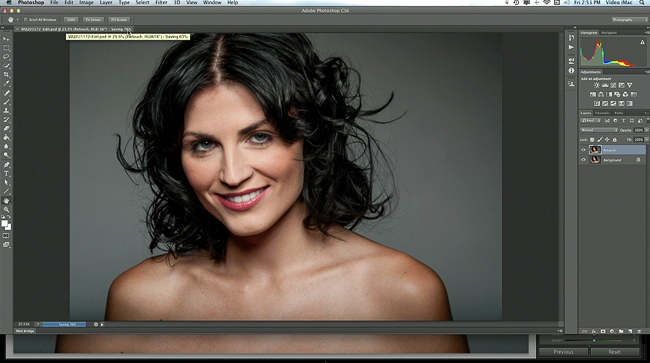
Mark demonstrates how to take a photo from Lightroom and edit it in Photoshop without losing the original.
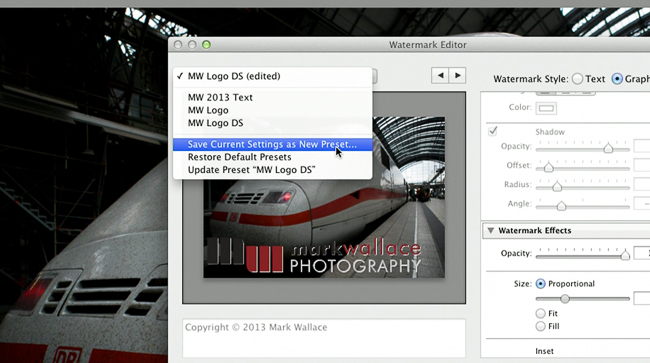
Create your own watermark to use on your images.
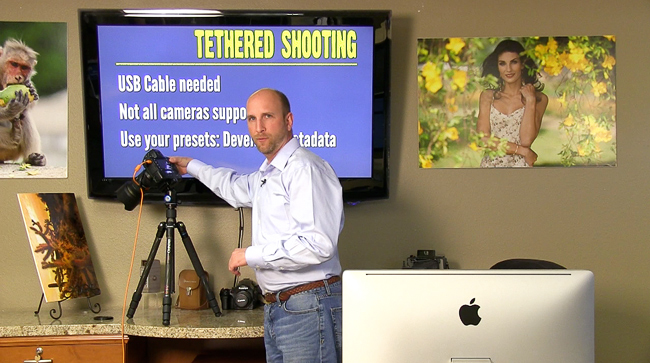
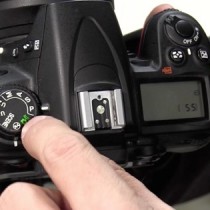
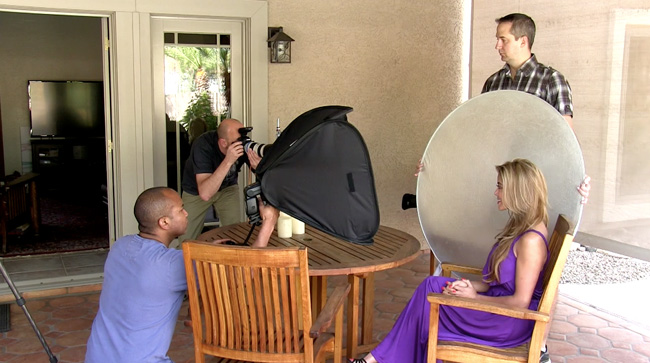
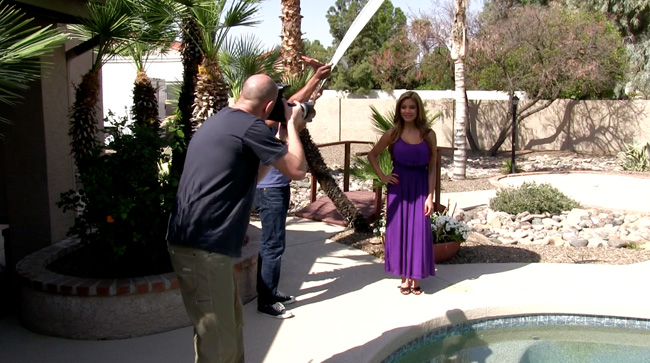
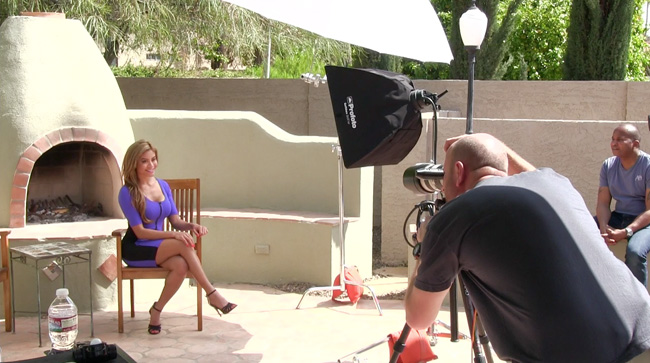
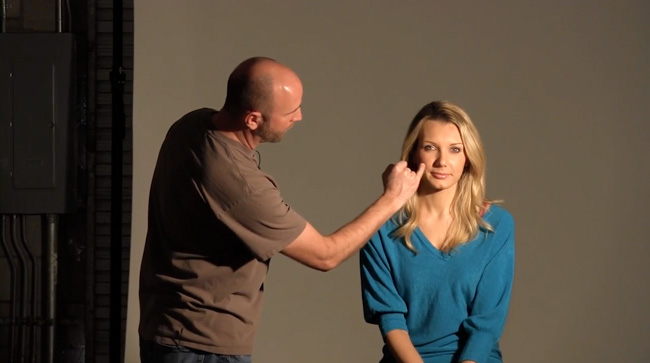
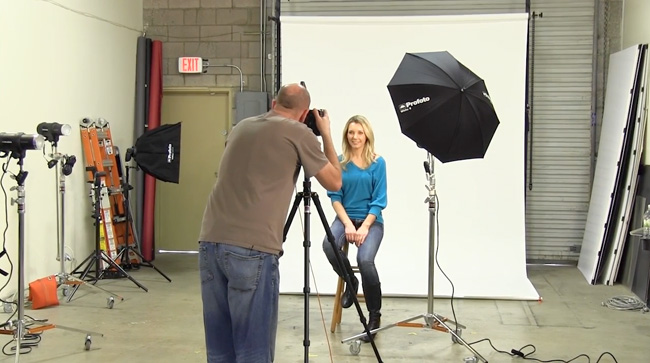
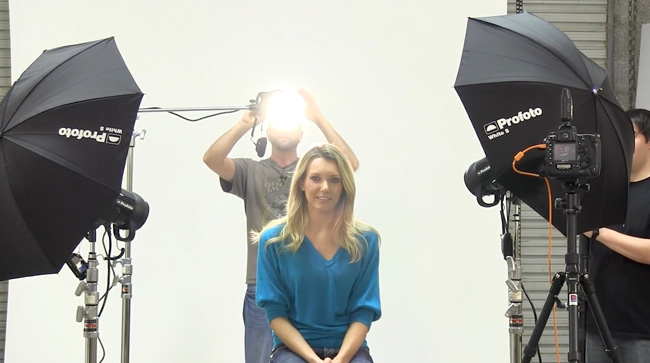
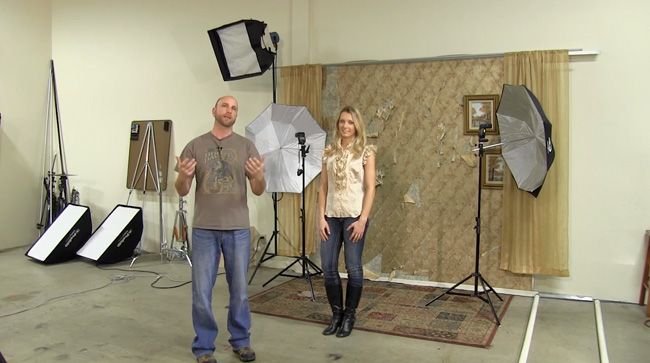
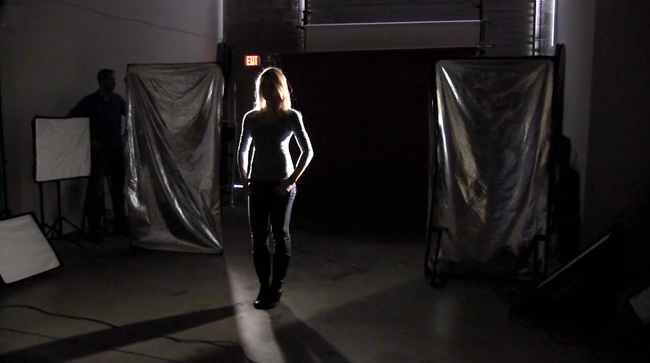
Mark shows how to shoot tethered directly into Lightroom.
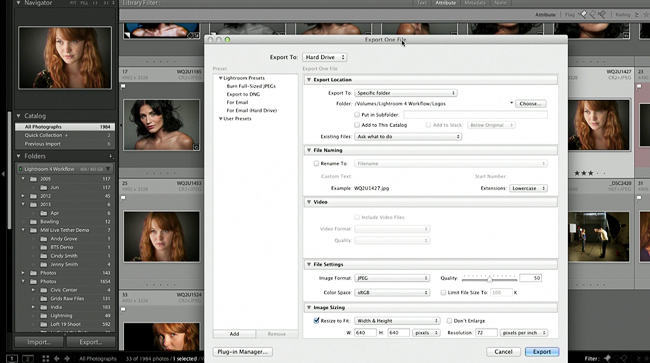
Mark explains the export features.

Lightroom’s Publish Services are powerful tools for exporting photos and keeping them updated with the most recent edit.
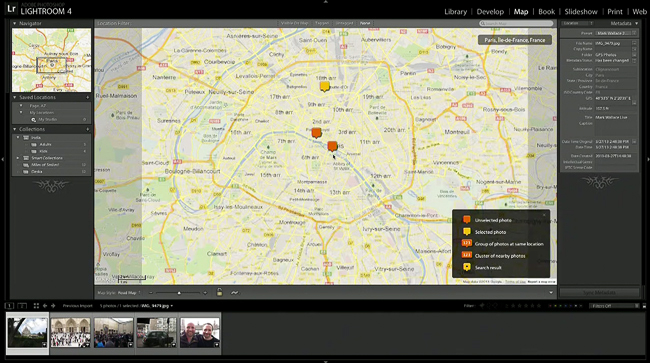
Mark shows how to use the Map module.
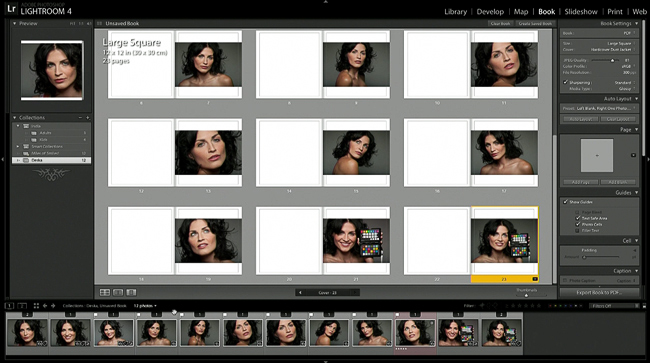
A quick demonstration of using the Book module.

Mark creates this slideshow from scratch and shows how you can use this to sell more photos.
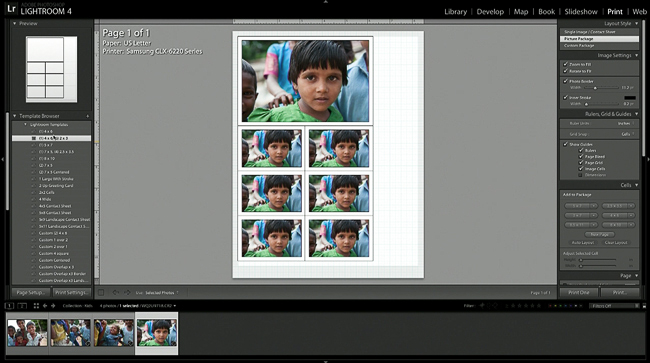
The print module allows you to print individual images, or complete custom packages.

Finally, Mark makes an entire gallery webpage with just a few clicks in Lightroom.