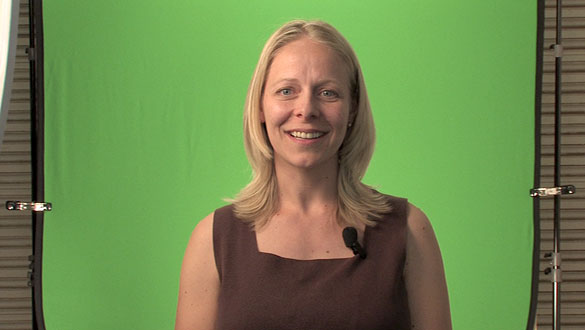
This weekend I shot a couple of videos of students talking about their experience with the 8 week Digital Photography 101 course. Eventually I’ll have a bunch of videos that will all be edited and posted on our website.
I’ve had a few people ask about the process of shooting on a green screen and so I thought I’d create a short video that shows the editing process.
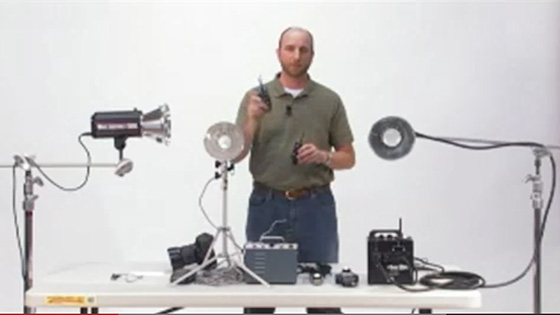
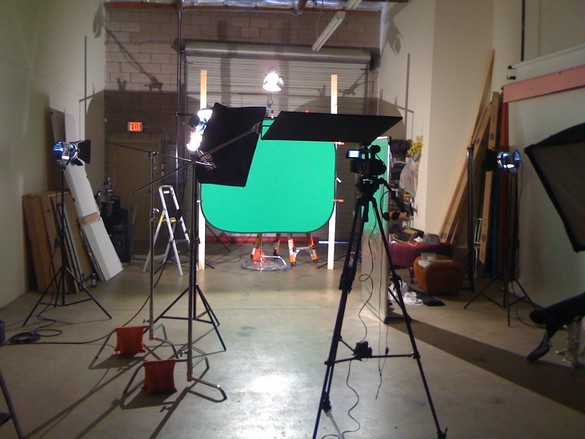
Here’s the lighting setup. I have a portable green screen that’s lit by two Arri 650 Plus fresnels. The subject is lit by an Arri 1000 watt Arrilite with small Chimera softbox. There’s also a 650 fresnel that I use as a separation light – that’s the light high above the green screen.
There’s a silver reflector opposite the softbox for some fill light. There are also two flags to keep light from spilling into the lens. One large flag to block the separation light and one small flag to block the light coming from the rear of the softbox.
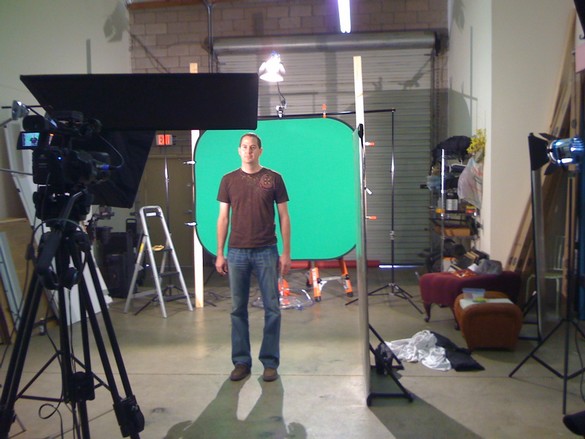
Here’s another view with our former student, Craig, in the shot.
After the video is shot with our Canon XH-A1 it’s imported into Adobe Premier Pro CS3. I use a Matrox RT.X2 video capture card for real-time HD editing. The basic steps shown in the video are:
- Add Chroma Key to reveal stock background animation. You can buy these from Digital Juice, they’re called Jump Backs HD.
- Add left matte to eliminate the green screen stand.
- Clean up the audio in Adobe Audition.
- Add some stock music from Digital Juice.
- Add the right matte
- Adjust the color
- Move Craig to the right to make room for text.
- Add some text.
- Fade everything out.
From Green to Finished from Mark Wallace on Vimeo.
