Come Hang Out… San Francisco or New York

SF_Walkabout_Logo.jpg

I’m going to be in San Francisco and New York in the next few weeks and I’d love to hang out with you. I’m hosting a walkabout in each city. What the heck is a walkabout? Well, simply put, it’s when a bunch of photographers get together, walk around and take pictures. Scott Kelby calls them photo walks.

San Francisco: Sep 27, 2009. 10:30am

We’ll be meeting at Union Square Park. I’ll be bringing along my nifty ColorChecker Passport for anyone who wants to take a look at it. I’ll also try to bring a few more toys for people to look at and play with. It all depends on how much I can put in my baggage for the flight over. I’m thinking something small and portable may be cool. There are a few other surprises I’m working on, but I can’t spill the beans just yet.

New York City: Oct 24, 2009.

I’m working out the time and location for New York. It will definitely be in Manhattan. I’ll have a bit more time in New York and I’m working on having more toys for people to look at and play with. I’m working on having a few PocketWizards around, some Profoto gear, and of course the new ColorChecker Passport. Other surprises need to be confirmed.

Stay tuned to the blog for updates on these events. The admission is free and everyone is welcome to join us! If you think you may make it please leave a comment so I know what to plan on.

New Passport

WQ2U1190.jpg

Image copyright 2009 Mark Wallace/snapfactory

A few months ago X-rite asked me if I was interested in testing out a new color checking device called the ColorChecker Passport. They gave me a brief overview of how it worked and I was sold. The Passport is a system for maintaining accurate color during capture and post production, specifically when using Adobe Lightroom.

The process is very simple. You place the Passport in the shot, take a photo, and then use that photo during post production to create a color profile for your photo sessions. This guarantees you have accurate color from the beginning. Once you get to your computer you use a simple Lightroom Plug-in to evaluate the shot and create the profile. It takes about a minute to do this.

The Creative Enhancement Target

Passport_enhancement.jpg

This target allows you to adjust your white balance using the White Balance Selector in Lightroom. Just use one of the patches in the two center rows to warm up or cool down your photo. You can also check and evaluate shadow details or highlight clipping and check and control color shifting. This target makes the Develop module come to life.

The passport includes two other targets as well:

Passport_classic.jpg
A Classic target that’s used as an industry standard color reference. This is also what’s used to create the custom color profiles.

Passport_WB.jpg
A White Balance target used to set your custom white balance in the camera during shooting.

For all of this to work you really need to complete the color management cycle and calibrate your monitor and printer. I use the Color Munki because it’s affordable, easy to use, and it works great. Click here for more info on the Color Munki.

Seth Resnick made a terrific video that shows the passport in action.

For more information visit the Passport page at X-Rite.

New PocketWizard Videos

In May and June of this year I spent a lot of time working with PocketWizard on a few videos and some instructional content for their website. All of the new step-by-step instructional info is just about to go live on PocketWizard.com (it’s going to rock) and I wanted to give you a sneak peek at a couple of other videos that will hit their site soon.

The first video is just an overview of the PocketWizard MiniTT1 and FlexTT5. There are a few sample pictures and some behind the scenes video of me shooting in New York.

The second video explains hi speed sync and shows you how you can extend this functionality using the Mini and Flex.

Guess the scene, win a bag.

I’m in Hollywood for a couple of days meeting with some clients. In the spirit of Hollywood I thought I’d have a little contest. A few years ago I was in a movie with Tom Cruise (yes, I really was). If you’re the first person to guess the movie and the scene you’ll win a cool PocketWizard bag.

This contest is being held on the blog and on Twitter. So I’ll give a bag to the first person who leaves the correct move/scene combo in the comments section as well as the first person who tweets the correct answer.

The bag holds two standard PocketWizards or Two Flex units and One Mini. It’s very cool.

PW-bag.jpg

Hint: “You had me at PocketWizard.”

Update.

And the winners are…

@wordslinger0044 was the first to guess correctly on Twitter and seraphicimago was the first to guess correctly in the comments section on the blog.

I was an extra in the movie Jerry Maguire. Many of the football scenes were filmed at Sun Devil Stadium in Tempe, AZ – just down the road from our first studio. I was in the end zone for many of the scenes and was later moved to a section by the 20 yard line. Although I was pretty close to the field I’m totally indistinguishable in the movie. In fact for most of the scenes everyone had cardboard people sitting between the real people in the seats. The entire upper deck of the stadium was cardboard people. It was pretty funny.

Congratulations to our winners. Your bags will be sent out soon.

Lightning photos, the easy way.

75u.jpg

Last night we had our first big monsoon storm here in the desert. We had a ton of rain, wind, and lightning. I always love these big storms because it means I have another chance to capture some lightning shots.

There are many great ways to capture lightning and most involve some type of trigger that tells your camera when to open the shutter. I’d love to have some of that equipment but since I don’t I use a different method. It’s very simple and almost anyone can do it, but be warned, this method only works at night. Here’s how you do it.

  1. Set your camera to manual mode.
  2. Set your shutter to 30 seconds (yep, that’s right).
  3. Set your aperture to f/10
  4. Set your ISO to 100
  5. Shoot in RAW mode.
  6. Set your focus to manual focus and focus just shy of infinity (this assumes you’re a few miles from the lightning).
  7. Use a wide angle lens – I usually use an 18mm – 35mm set at 35mm. This really depends on how close you are to the lightning and how wide spread it is. I don’t recommend you get close to any lightning – you can die.
  8. Put your camera on a tripod and point it in the direction of the lightning strikes.

Once you have all that set up you can “fish” for lightning. Click the shutter and wait 30 seconds. Any lightning that strikes during that time will be captured in your shot. Just keep clicking your shutter over and over and you’re bound to capture some great lightning. It’s not the best way to do it, but it is easy and it works. I captured both of these images using this method.

Once you get back from shooting your big storm you’ll need to do some post production. Your color temperatures (white balance) will need to be adjusted and you’ll probably need to do a bit of adjustments to the curves. You should be able to do all of that in Aperture or Lightroom.

When you’re shooting make sure you don’t do anything stupid, like getting too close to the storm or putting your camera in the rain. In Arizona it’s easy to shoot lighting from miles away. If this isn’t the case where you live than you may want to take pictures of something else. Be safe and have fun shooting.

hon.jpg

casting-height

New Episodes on the Way

Our first video update via iPhone.

We’ve been working on a bunch of new Digital Photography One on One episodes and we’re set to begin production in 2 weeks. We have some really great episodes one the way. The scripts are written, locations have been scouted, and now we’re down to casting models and getting all the wardrobe in place.

Yesterday we held a casting call and took a few “polaroids” (OK, they were digital) of the models and also had them do a short screen test. We’re looking for models that are great in print and in front of a video camera. One of the funny exercises we did was to have each of the models stand next to me so we’d be able to judge height. When we frame videos it’s important that the model and I are about the same height. It’s good for composition.

casting-height.jpg

Today we’re meeting again to go over all the screen tests and polaroids, take a second look at portfolios and make a final decision about which models we’ll be using for the videos. Shooting begins July 28 and the first video will be posted soon after.

We’re also trying something new to give you a behind the scenes look at how it’s all done. We’re shooting a bunch of quick iPhone videos along the way. If you like them we’ll keep making more for other projects as well. Let us know what you think!

Beauty and the Beast giveaway!

The Beauty and the Beast tour with Hanson Fong and John Woodward is just about to begin – and we’re giving away 2 tickets in every city on the tour!

Here’s how you win:

  1. Follow Mark on twitter: @jmarkwallace
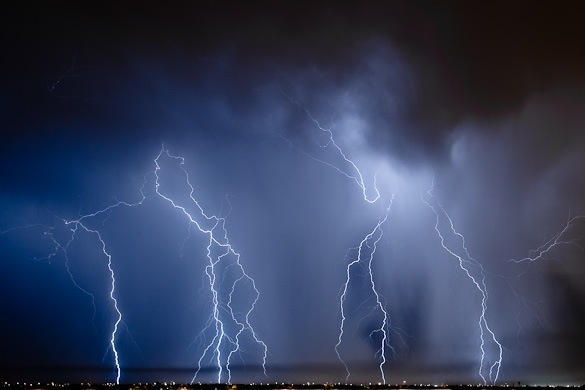
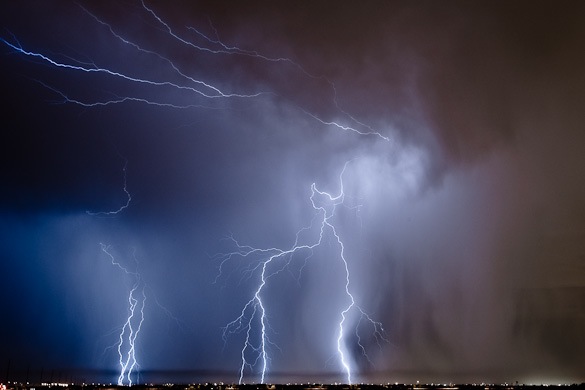
  2. Post your best “beauty” or “beast” shot on your blog, website, or flickr.
  3. Send Mark (@jmarkwallace) a tweet with the link to your photo and the city where you’d like to attend the tour.
  4. Two winners will be selected for each city:
    1. One will be selected at random
    2. The other will be selected based on creativity. You can be creative with your photo, your blog entry, or your tweet. Tell us why you want to attend, show us how you’d benefit from the tour, or just do something amazing. It’s up to you.
  5. The winners will be announced on twitter. All winners will get a Direct Message from Mark.
    1. Winners for each city will be announced at least 15 days prior to that city’s tour date. That means Nashville people have a bit more time than Portland.

*Travel and hotel expenses are NOT included. We’ll get you in the door but you’ll need to pay for the trip.

336x280.jpg

If you want to learn how two top, award-winning photographers put their techniques, styles and tools to work you’re in luck. Hanson Fong, one of the premier portrait/wedding photographers in the country and one who holds the degrees of Master Photography and Photographic Craftsman, and John Woodward, voted Photographer of the Year in 2007 by the Professional Photographers of America are embarking on an eight-city tour of the U.S. Cities are:

  • Portland, OR: July 30
  • Boston, MA: August 10
  • New York, NY: August 13
  • Indianapolis, IN: September 14
  • Grand Rapids, MI: September 24
  • Houston, TX: September 28
  • Los Angeles, CA: October 1
  • Nashville, TN: October 5.

Hanson and John are both well-known speakers and educators in addition to being top shooters. Topics covered will include: compositional study, facial analysis, portrait, glamour and modified lighting, lighting ratios, metering techniques, posing family groups, “The Wheel of Self-Assessment,” digital and the power of RAW, color management and its importance, 10 basic poses, flow posing and more. Great stuff! Last year’s tour was without a doubt a hit with photographers all across the U.S.

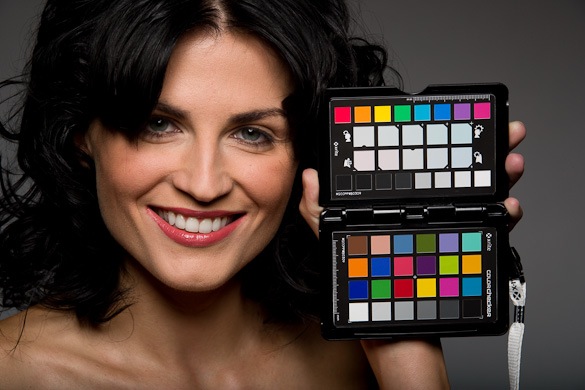
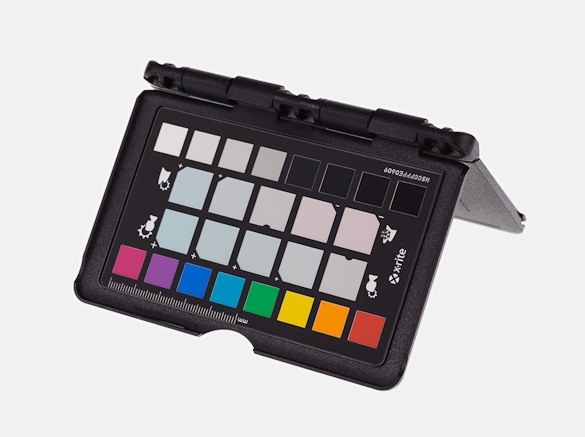
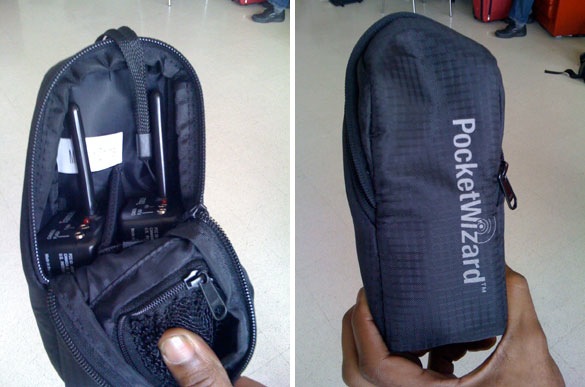
In addition, the day will feature a mini-expo which will be open for one hour before and after the seminar, during breaks and lunch. Representatives from Mamiya, Sekonic, Profoto, Induro, PocketWizard, Tenba, X-Rite, Eizo, Toyo-View, Creative Light, Benro, Marathon Press, ACI/American Color, Nik Software, Denny Manufacturing, Luma Vue Arts and Graphic Authority will be on hand to demonstrate products and offer special discounts.

Visit www.ProlightSeminar.com for more information and online registration.

illumine 2009 Recap

WQ2U0428.jpg
L-R Floyd Bannister, Brian Smyth, Ryan NeVille, Gwen Lindvig, Craig Bolton, Amanda Castillo, Jade Hannah, Nico Nguyen, Chuck King, Lilach Shokargi. Seated: Mark Wallace (they made me do it). Not pictured: Diane Wallace, Chad Westover and Jeff Caroli.

I had a terrific time hanging out with a great group of people this past weekend. Floyd Bannister opened the doors of Loft 19 and allowed us to play in his 10,000 square foot playground, um, studio. Students were able to use Pro 7 packs, ringflashes, gigantic parabolic umbrellas, a huge 35 cyc, magnum reflectors, grids, beauty dishes, Compact lights, Acute packs, and many other tools I’m sure I’m forgetting. The Loft 19 experience is something that’s hard to match in any studio.

We began the weekend with me teaching students about the qualities of light and how you can use different light shaping tools to create specific lighting styles. We followed that by setting up a basic 3 light setup. We then began to experiment with different lighting designs and students were encouraged to experiment and create their own. And create they did! Here are a couple of shots from our students. Great work guys!

DSC_9535.jpg
Jade as shot by Brian Smyth. Image copyright 2009 Brian Smyth

IMG_5709.jpg
Jade as shot by Chuck King. Image copyright 2009 Chuck King.

IMG_3160.jpg
Gwen as shot by Nico Nguyen. Image copyright 2009 Nico Nguyen.

_MG_3222.jpg
Jade as shot by Ryan NeVille. Image copyright 2009 Ryan NeVille.

New Workshop: Beyond the Basics

Beyond the Basics: the sequel to Digital Photography 101

Mondays, August 10-September 28, 2009

This 8 week workshop is the much requested follow up class to our Digital Photography 101 workshop. In Beyond the Basics you’ll build on the knowledge you have and learn how to use Adobe Lightroom to manage your post-production workflow, you’ll be introduced to new storytelling techniques, you’ll join your classmates on four location shoots, learn about the zone system and advanced metering techniques.

Beyond the Basics is being co-taught by Mark and Diane Wallace. Because half of the workshop will be taught on location we wanted to insure that every student had plenty of time with the instructors. We are limiting the class to 10 students to make sure everyone gets plenty of personal attention.

Click here for more details…