I’ve been looking for an inexpensive solution for portable power so I could take my studio strobes on locations with no power. I looked into buying a gas generator but decided against it because they are just too big and bulky.
Profoto recently announced the AcuteB 600R which is a very nice pack (currently shipping with free head). This is a pack that I was seriously considering. It’s a relatively inexpensive system that delivers high quality output. The type of location shooting I want to do requires shorter flash durations and a bit more power than the Acute is able to deliver. I also want to the option to use more than one head if needed.
The Pro7b 1200 is really the pack that meets those requirements but it’s beyond our immediate budget. We have several things on our list to purchase this year and at the top of the list is a new Profoto D4 pack. A Pro7b just isn’t in the cards for us anytime soon. But, darn it, I want battery power now!
I’m fortunate to have a great relationship with StudioLighting.net and a couple of months ago Bill Crawford reminded me of the LightSource Podcast featuring David Bean. David talked about a very cool battery pack called the Tronix Explorer. It’s a portable battery pack that’s capable of powering a 1200ws generator for a few hundred flashes. After reading David’s review of the Tronix Explorer I decided to give it a shot.
The Tronix Explorer, a nifty case and shipping was just over $300. It was less than a week from time of purchase till it showed up on my doorstep. That’s pretty incredible from a company that’s located in the Philippines. I’ve had to wait longer for shipments from B&H Photo.
Power Tip: If you’re in the Western US always go to Canoga Camera before B&H. They have stellar prices and service and the shipping costs and times are always better than B&H. Customers outside of California don’t even pay sales tax! That’s big time savings if you’re picking up a new 1Ds Mark III or Profoto D4.
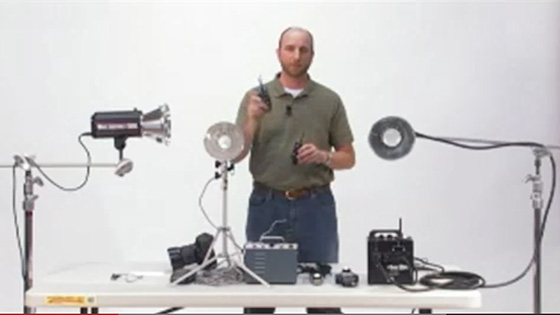
The Tronix Explorer showed up a couple of days ago and I’ve only had a few minutes to play with it. You’ll have to wait for the full blown review (which will probably be a new YouTube video). I did play with it enough to realize it’s heavy. It’s about 20 pounds, not something I want to be lugging around. My first order of business was to put it on wheels.
I recently watched a very cool video that Chase Jarvis put together (click here to download the video). He has a very cool setup for his Pro7B system (yes, I’m jealous). His entire Pro7B system is contained in a single LowePro bag – on wheels – Bingo! Good idea Jarvis. This is why I constantly ask myself, “What would Jarvis do?”. The dude has good ideas.
I happened to have a Pelican 1610 that we weren’t putting to good use. After moving some things around I created a one head setup on wheels. I believe there’s still enough room in the case for my ring flash so I’ll probably throw that in for good measure next time.
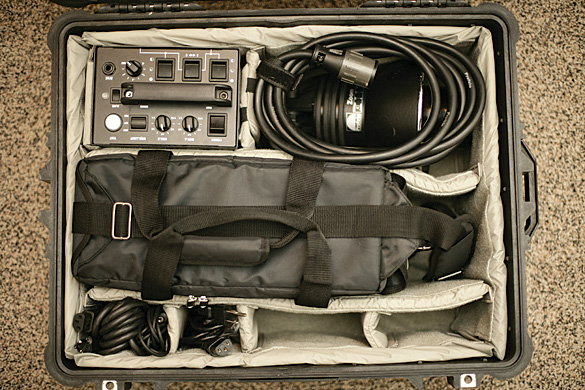
The 1610 hold an Acute2 1200R, D4 head, Tronix Explorer, power cables, sync cable, and a cigarette lighter adapter for charging on the go. You can see I still have empty space for a ring flash, speed ring and other things as needed. The case is a bit too small to fit an umbrella or small softbox but I can always throw those in a different bag pretty easily.
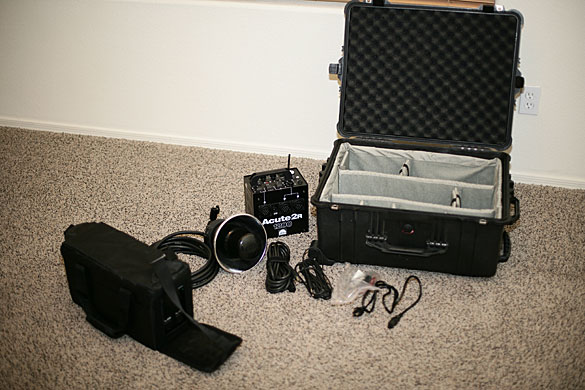
Here are the contents out of the box. The Tronix bag has some nifty flaps that fold down for easy access to the power outlets.
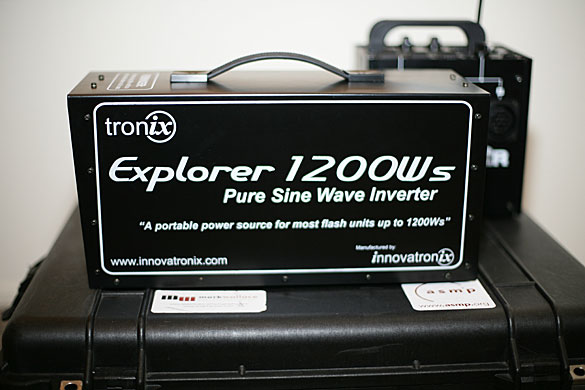
Here’s a shot of the Tronix Explorer without it’s protective case. The Profoto Acute 2 1200r is in the background. The Tronix case is so well designed that I don’t see a need to ever take it out of it’s bag. I just did this to show you what the unit looks like without it.
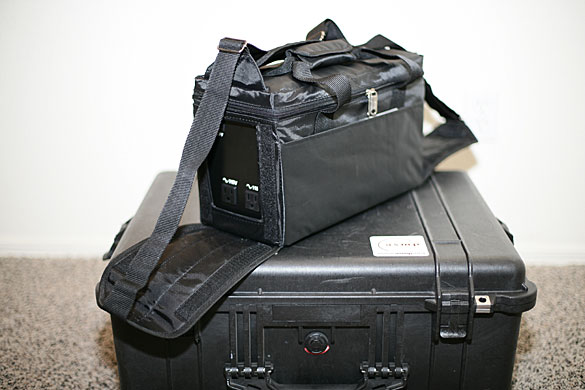
Here’s a shot of the Tronix with it’s clothes on. The bag has reinforced edges and is very rugged. One of the complaints about the Tronix was the wimpy handle that’s built on the top. I guess they created this bag to fix that and give it an added bit of protection on the road.
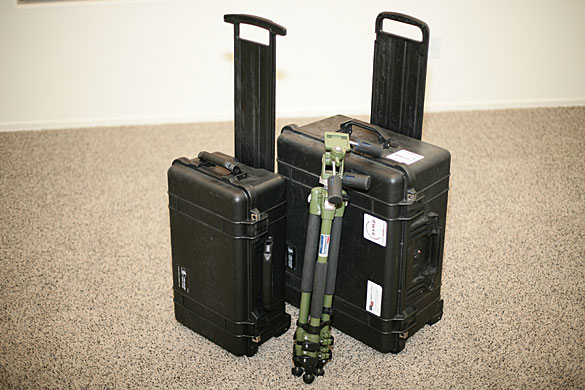
Here’s a shot of the 1610 (on the right) next to our video case (1510). The entire system is very compact and will easily fit in the back of an Xterra. The Pelican cases are also ready to fly if you need to take it out of town.
The only other part of the system that you don’t see is a single Matthews C-stand and sandbag. If you have an assistant you can get by without a light stand but I like to have one along if possible.
I’ll be taking this out for a test shoot as soon as possible. I’ll make sure to tape the experience and post it on YouTube.
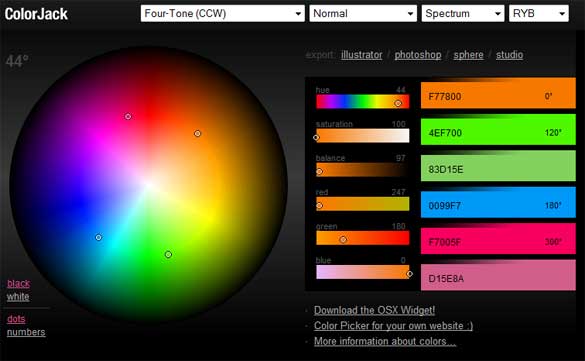
 Sphere supports eighteen formulas and nine color blindness simulations designed to help you choose the right color scheme for your project!”