DSCF2205
instantfilm2
LR-featured-image-lg

Lightroom 4 Workflow

This workshop is a step-by-step walkthrough of Lightroom 4, perfect for the beginner as well as those who have worked with Lightroom previously. This workshop is everything you ever wanted to know about Lightroom but were afraid to ask. This workshop contains more than 7 hours of content!

This workshop is available for download now!
Price: $30USD
Product is a digital download. You will not receive a hard copy.

Add to Cart View Cart

This workshop will give you an overview of Lightroom 4 and show you how to maximize it’s potential by creating a workflow for importing, keywording, adjusting and exporting your images.

Topics covered in this workshop:

  • How Lightroom keeps things organized – the catalog system
  • The Library module: importing, keywording, metadata, organizing and more
  • The Develop module: making global and local adjustments, using the tools, using and creating presets
  • The Map module: organizing your photos geographically, privacy setting
  • The Book module: creating a book from scratch
  • The Slideshow module: creating a slideshow, creating presets, strategies for increasing your income using the slideshow module
  • The Print module: creating prints, managing color, proof sheets for clients
  • The Web module: creating galleries for online viewing

In addition to the modules Mark will be covering:

  • Export options: creating presets for specific jobs
  • Watermarking your images
  • Using Publish Services
  • Integration with Photoshop
  • Tethered shooting

This is an information packed workshop. Don’t miss out!

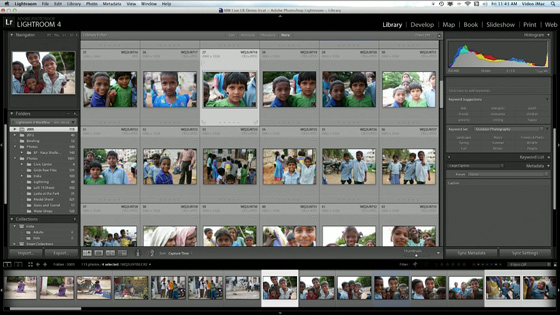
Here are a few screenshots from the video.
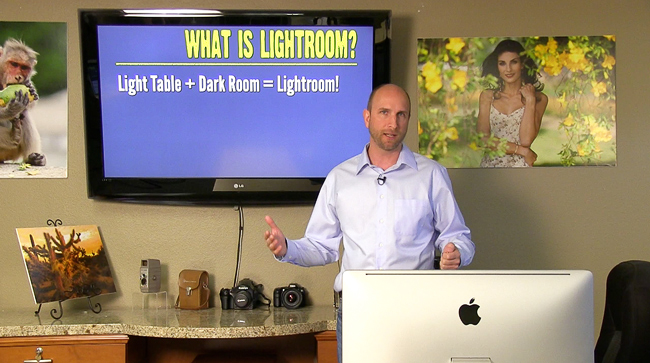
Mark explains the foundation of Lightroom 4.
Mark explains the foundation of Lightroom 4.

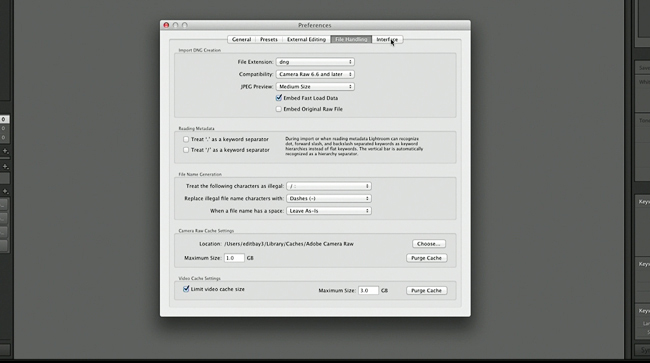
A step-by-step explaination of the preferences panel.

A step-by-step explaination of the preferences panel.

Mark dives into the importing process.
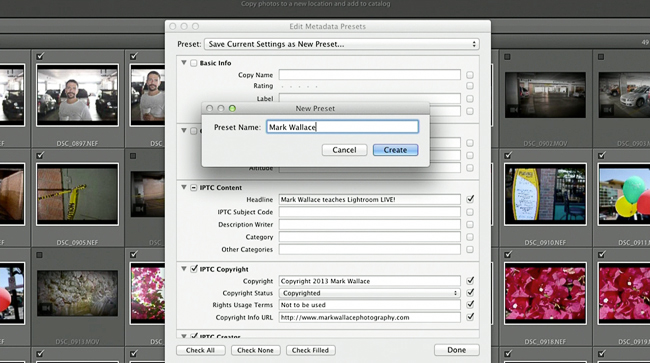
Mark dives into the importing process.

Lightroom allows you to embed copyright data upon importing.

Lightroom allows you to embed copyright data upon importing.

The importing screen has many options to streamline your workflow.
The importing screen has many options to streamline your workflow.

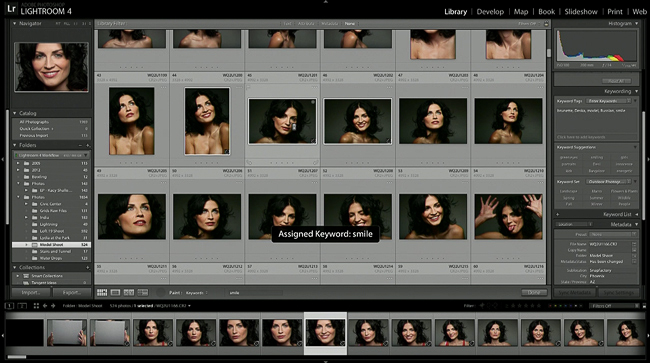
Mark demonstrates many ways to assign keywords to your photos for quick sorting.
Mark demonstrates many ways to assign keywords to your photos for quick sorting.

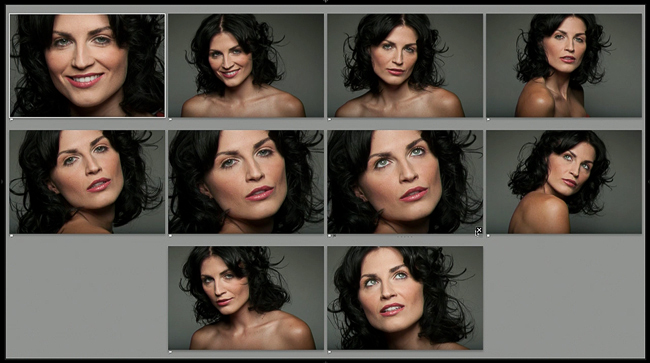
This is one of the views in Lightroom to help compare multiple selected photos.

This is one of the views in Lightroom to help compare multiple selected photos.

Collections are used to prep selected photos for output to books, the web, etc.
Collections are used to prep selected photos for output to books, the web, etc.

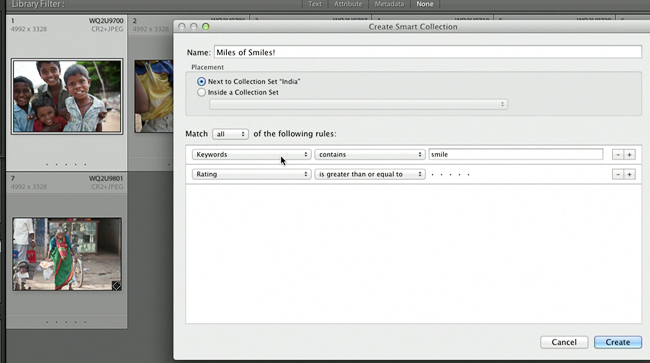
Smart collections automatically gather photos with certain keywords, ratings or metadata that you choose.
Smart collections automatically gather photos with certain keywords, ratings or metadata that you choose.

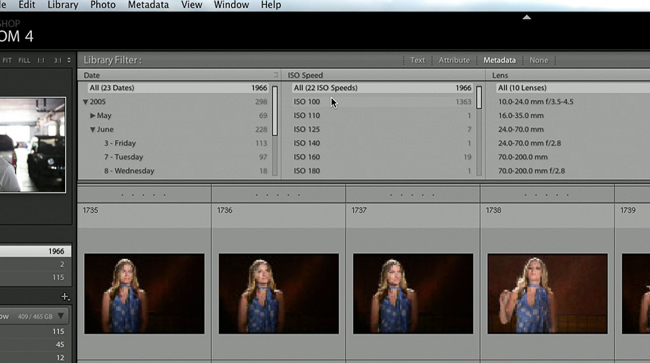
Mark demonstrates how to sort photos in the Library module using different filters.
Mark demonstrates how to sort photos in the Library module using different filters.

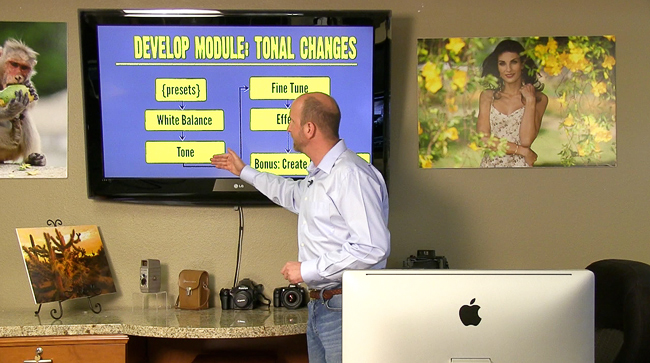
The next big part of Lightroom is the Develop module, and Mark explains how to adjust photos.
The next big part of Lightroom is the Develop module, and Mark explains how to adjust photos.

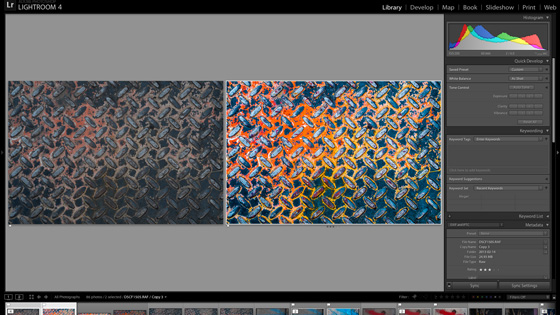
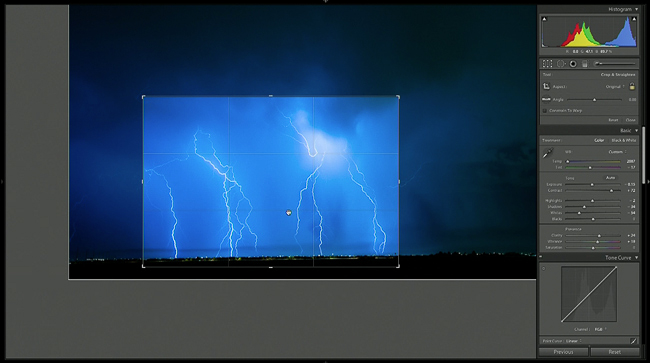
Using the Develop module, Mark saturates the colors and crops this image.
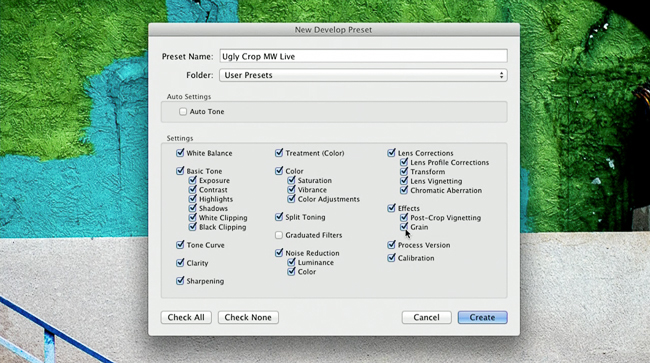
Using the Develop module, Mark saturates the colors and crops this image.

Presets allow you to quickly batch edit photos, and Mark shows you how to create your own.
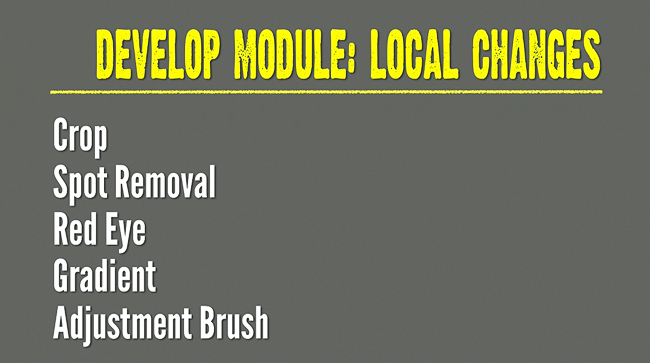
Presets allow you to quickly batch edit photos, and Mark shows you how to create your own.

Mark walks through using some of the local adjustments that are similar to those in Photoshop.
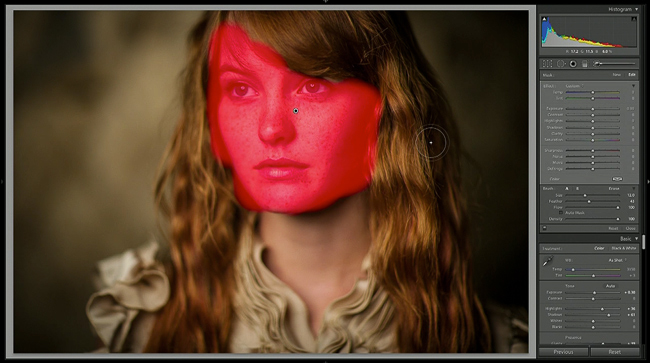
Mark walks through using some of the local adjustments that are similar to those in Photoshop.

Lightroom creates masks to allow for local adjustments to exposure, contrast, color, and more.
Lightroom creates masks to allow for local adjustments to exposure, contrast, color, and more.

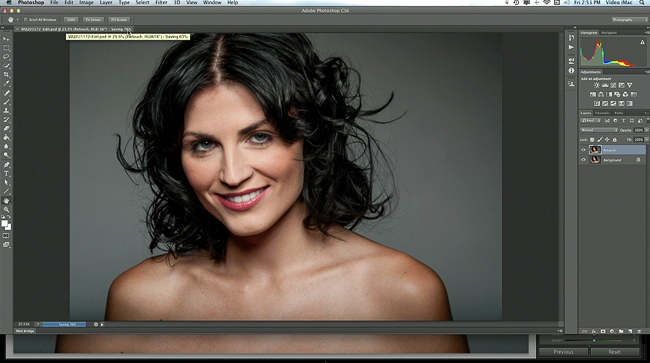
Mark demonstrates how to take a photo from Lightroom and edit it in Photoshop without losing the original.
Mark demonstrates how to take a photo from Lightroom and edit it in Photoshop without losing the original.

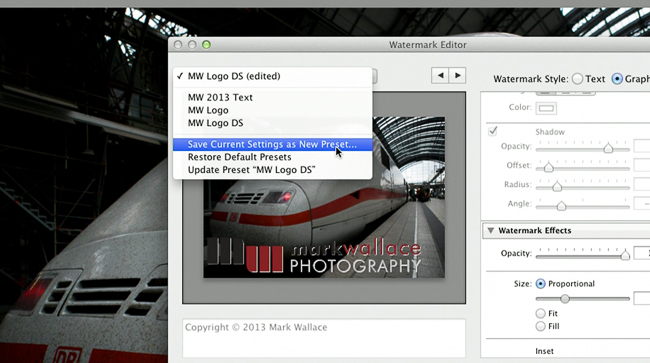
Create your own watermark to use on your images.
Create your own watermark to use on your images.

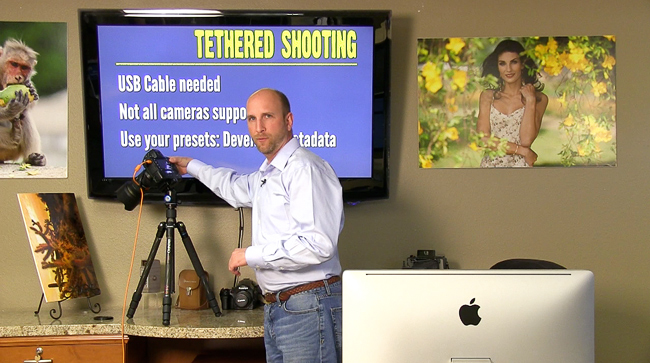
Mark shows how to shoot tethered directly into Lightroom.
Mark shows how to shoot tethered directly into Lightroom.

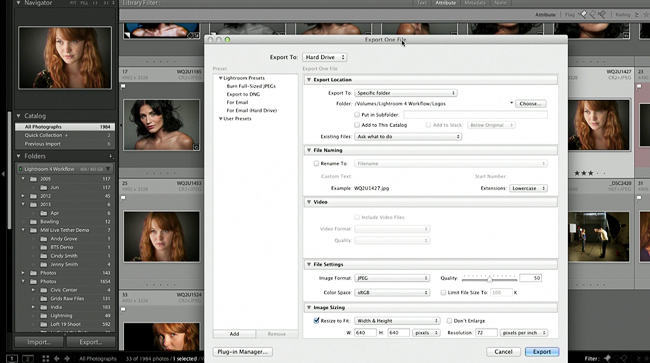
Mark explains the export features.
Mark explains the export features.

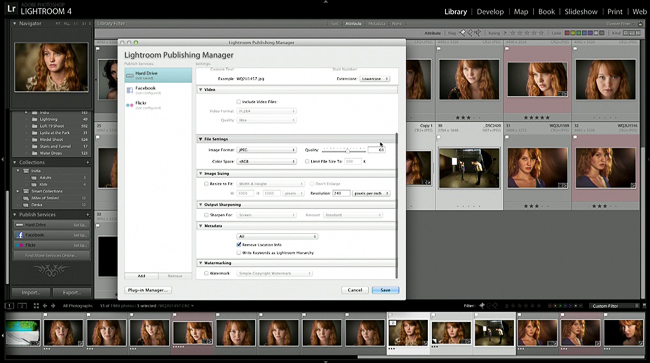
Lightroom's Publish Services are powerful tools for exporting photos and keeping them updated with the most recent edit.
Lightroom’s Publish Services are powerful tools for exporting photos and keeping them updated with the most recent edit.

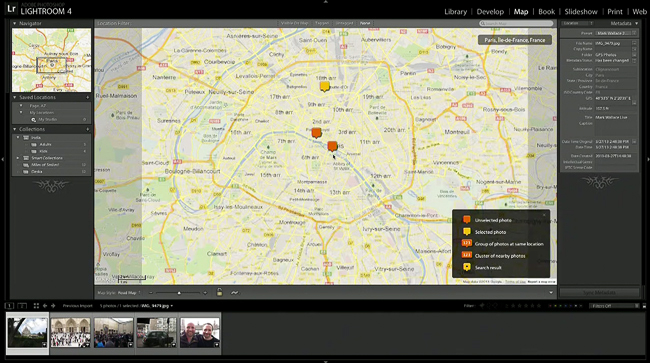
Mark shows how to use the Map module.
Mark shows how to use the Map module.

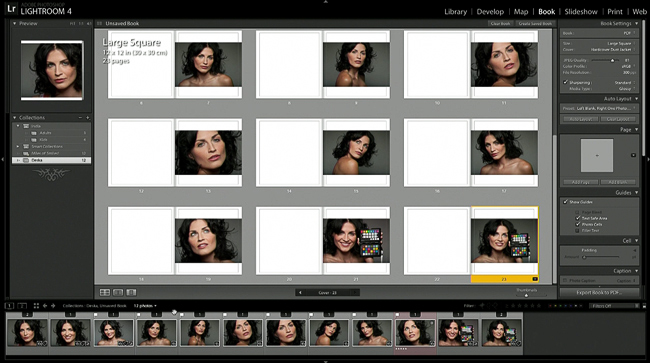
A quick demonstration of using the Book module.
A quick demonstration of using the Book module.

Mark creates this slideshow from scratch and shows how you can use this to sell more photos.
Mark creates this slideshow from scratch and shows how you can use this to sell more photos.

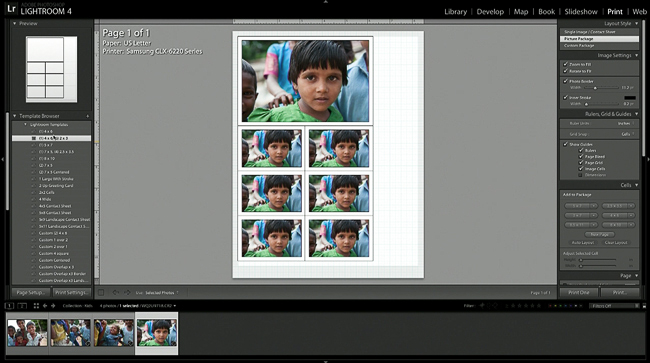
The print module allows you to print individual images, or complete custom packages.

The print module allows you to print individual images, or complete custom packages.

Finally, Mark makes an entire gallery webpage with just a few clicks in Lightroom.g

Finally, Mark makes an entire gallery webpage with just a few clicks in Lightroom.
Studio Session-048

On-Location Light and Lighting

Master outdoor location lighting! In this workshop Mark shows you how to use reflectors, speedlights and studio strobes in an outdoor location setting. Learn how to light for portrait photography outside and in open shade. Mark demonstrates his lighting techniques by shooting several scenarios including a poolside bikini shoot. Scroll down for all the workshop details.
This workshop is available for download now!
Price: $30USD
Product is a digital download. You will not receive a hard copy.
Add to CartView Cart

Here are a few screenshots from the video.

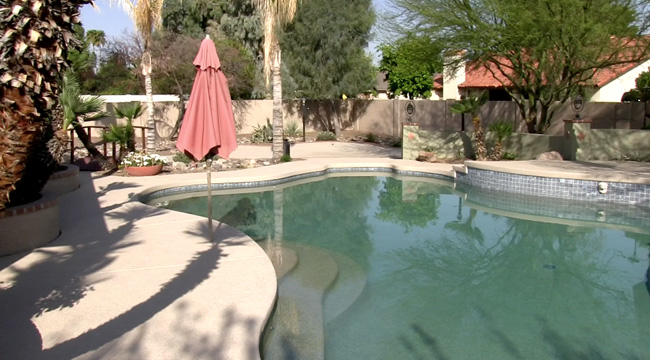
The beautiful location for the workshop.

The beautiful location for the workshop.

Mark starts by demonstrating how to control the ambient light and flash separately.

Mark starts by demonstrating how to control the ambient light and flash separately.

An example of Mark underexposing the background before setting the flash on our model, Jayd.

An example of Mark underexposing the background before setting the flash on our model, Jayd.

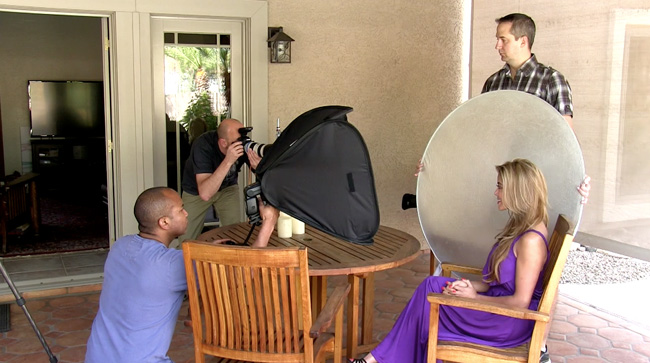
A portrait setup with a speedlight in a softbox, with a reflector.

A portrait setup with a speedlight in a softbox, with a reflector.

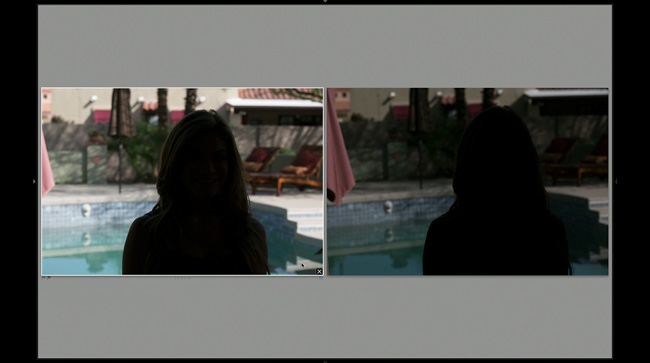
Mark compares photos where the background exposure changes, but Jayd stays relatively the same.

Mark compares photos where the background exposure changes, but Jayd stays relatively the same.

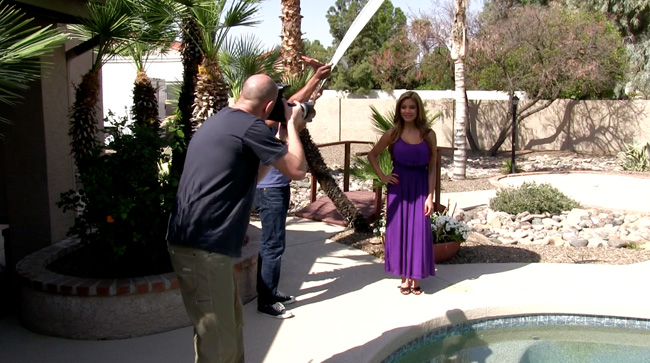
Heading out into the bright sunlight, Mark demonstrates using shade for better portraits.

Heading out into the bright sunlight, Mark demonstrates using shade for better portraits.

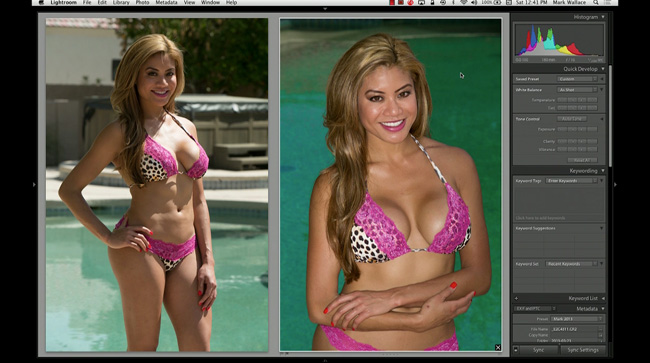
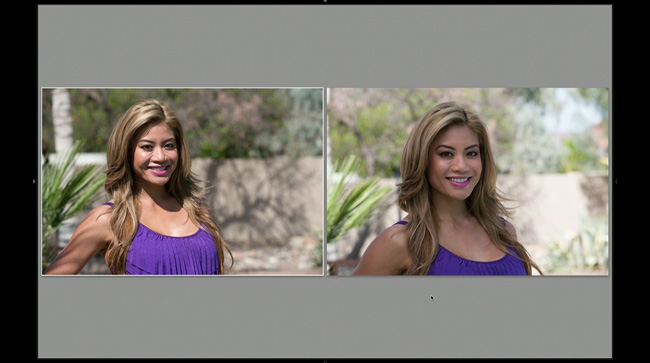
A comparison before and after the shade was added over Jayd.

A comparison before and after the shade was added over Jayd.

A demonstration about how a long lens can get better full-body portraits, even in a small space.

A demonstration about how a long lens can get better full-body portraits, even in a small space.

Mark's next setup will use shade with a studio strobe for balanced outdoor portraits.

Mark’s next setup will use shade with a studio strobe for balanced outdoor portraits.

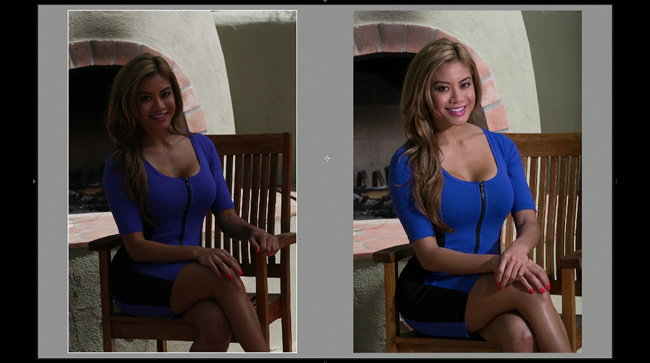
The left photo is just the ambient light. The photo on the right is with a strobe added.

The left photo is just the ambient light. The photo on the right is with a strobe added.

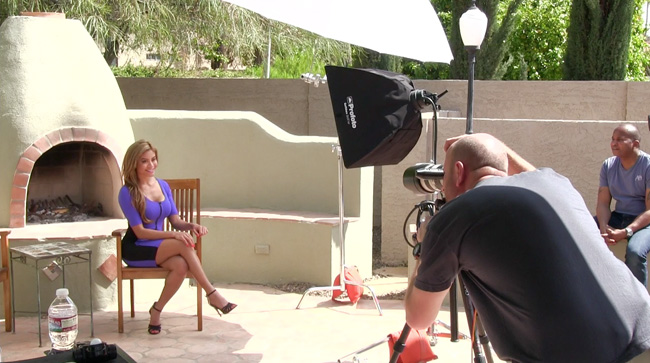
Mark adds a softbox on the strobe to soften the light.

Mark adds a softbox on the strobe to soften the light.

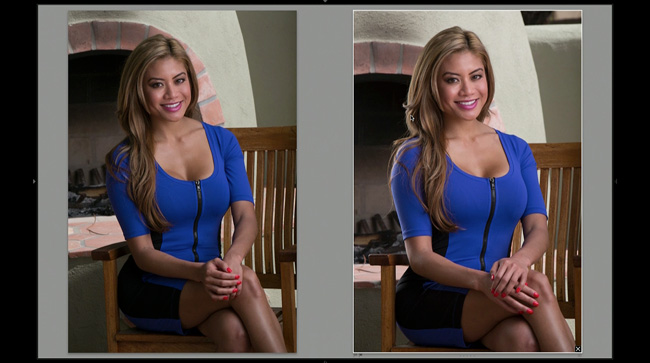
Adding a reflector made a huge difference in the left side of the photo. Notice how Jayd's hair and shoulder now have separation from the background.

Adding a reflector made a huge difference in the left side of the photo. Notice how Jayd’s hair and shoulder now have separation from the background.

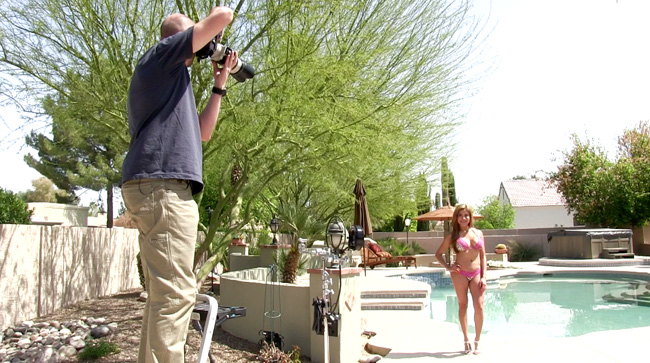
Mark's final setup is a bikini shoot by the pool using a ringflash.

Mark’s final setup is a bikini shoot by the pool using a ringflash.

First Mark shoots with no flash to demonstrate how changing your angle can make a much better photo.

First Mark shoots with no flash to demonstrate how changing your angle can make a much better photo.

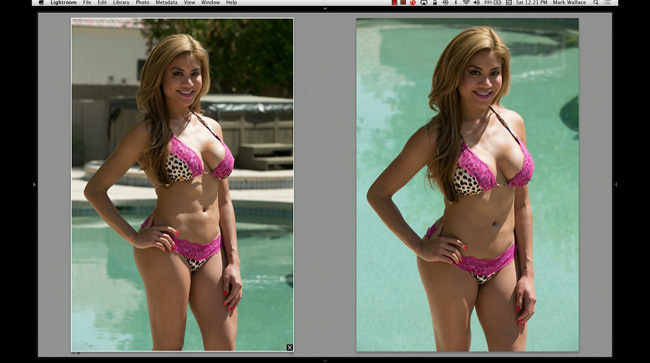
A comparison of the photos taken straight on versus the one taken on a step ladder.

A comparison of the photos taken straight on versus the one taken on a step ladder.

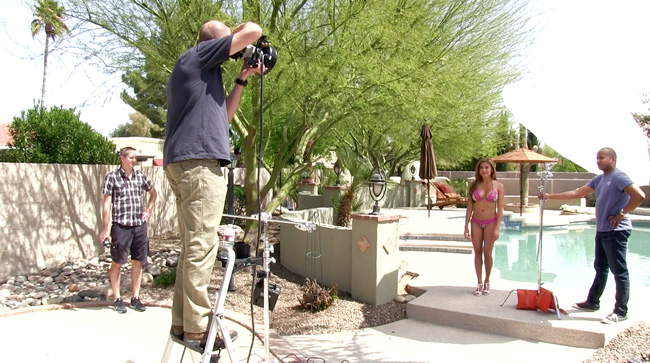
Mark's assistant gives him shade behind-the-scenes.

Mark’s assistant gives him shade behind-the-scenes.

Here Mark has attached the ringflash to his camera and added the white umbrella for shade.

Here Mark has attached the ringflash to his camera and added the white umbrella for shade.

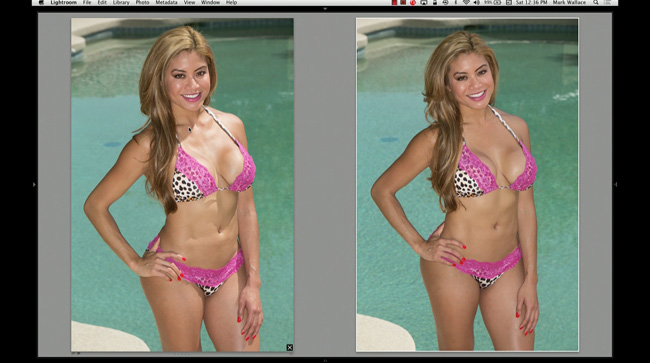
A comparison of the photos using the ringflash, but the left photo has no shade and the right one does.

A comparison of the photos using the ringflash, but the left photo has no shade and the right one does.

A comparison of where Mark started (straight angle, harsh light) and the final image that he got (no harsh shadows, better angle).

A comparison of where Mark started (straight angle, harsh light) and the final image that he got (no harsh shadows, better angle).

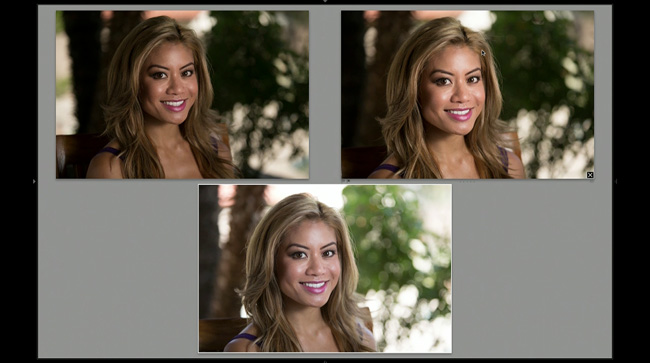
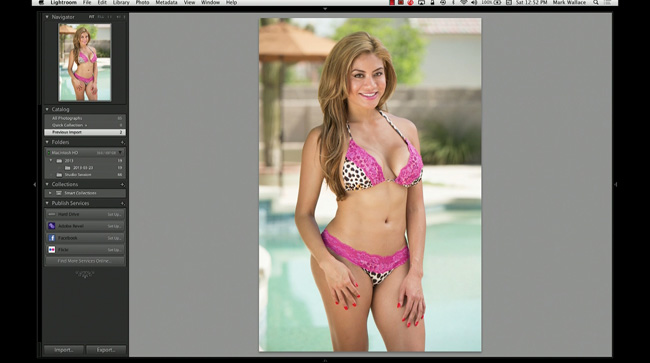
To wrap things up, Mark shoots without any flash for shallow depth of field.

To wrap things up, Mark shoots without any flash for shallow depth of field.

_DSC8421
WQ2U8916

Introducing the PlusX


The PocketWizard Plus®X is the newest release from PocketWizard and it is designed to make wireless triggering simple. During this Webinar, Mark demonstrates how to get up and running with the PlusX in a matter of minutes. This new transceiver is compatible with all PocketWizard transmitters and receivers, making it a great addition to any photographer’s gear.

Equipment List:

  • PlusX
  • Nikon D3S
  • Nikon 70-200
  • Benro Travel Angel A269
  • White foam core boards
  • Blue seamless paper
  • Profoto Acute2 1200 Pack w/ D4 head
  • Profoto beauty dish
  • Profoto D1 Air 500
  • Profoto 2×3 Softboxes
  • Nikon SB900 Speedlight
  • ExpoImaging Rogue XL Pro Flashbender with Soft Box Attachment
  • Tether Tools Aero Table
  • Matthews Stands
  • Profoto Acute B2 600 Air Battery Pack
  • Profoto Acute B head
  • Profoto Magnum Reflector
  • orange USB TetherPro cable
  • Sekonic L758DR
  • Manfrotto SuperClamp
  • Manfrotto Magic Arm
  • Canon 1DsMKii with Really Right Stuff L bracket
  • Canon 580EX II Speedlight
DSCF1515

Visual Pushups


Join Mark as he explores downtown Phoenix, Ariz. looking for photographic gems. He’s looking in alleys, looking at street signs and finding bits of color and texture to shoot. The key is to get in close and really isolate the subject; a macro lens is great for doing this.

Gear used in this video

_DSC8400

Mirror Trick


In this episode, Mark uses a mirror to shoot a portrait. Using the mirror gives the effect of two lights when only using one!

Using a mirror is also a great way to add color and depth to your photos when you’re shooting in a small space. See how Mark shoots this portrait with just one Profoto D1 500 w/s head.

Gear used in this video

metering-light-ratios

Metering for Light Ratios


In this episode, Mark shows you 4 simple steps for metering light ratios. Understanding the light ratios of your lighting setup can make setting up a photo easy. It also makes it simple to recreate the same light over and over again.

Mark uses a Sekonic L-358 in this episode to determing the lighting ratio. The L-358 has a built-in function to do this, so you don’t have to do math in your head!

Gear used in this video