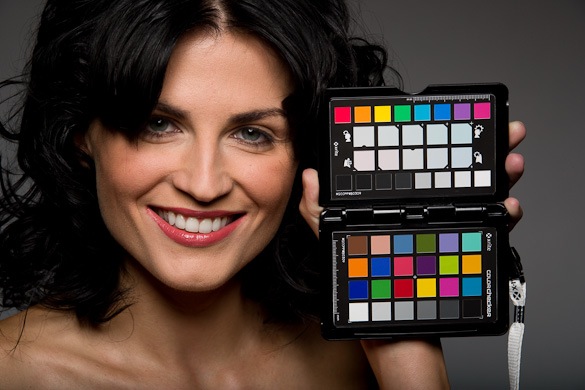
Image copyright 2009 Mark Wallace/snapfactory
A few months ago X-rite asked me if I was interested in testing out a new color checking device called the ColorChecker Passport. They gave me a brief overview of how it worked and I was sold. The Passport is a system for maintaining accurate color during capture and post production, specifically when using Adobe Lightroom.
The process is very simple. You place the Passport in the shot, take a photo, and then use that photo during post production to create a color profile for your photo sessions. This guarantees you have accurate color from the beginning. Once you get to your computer you use a simple Lightroom Plug-in to evaluate the shot and create the profile. It takes about a minute to do this.
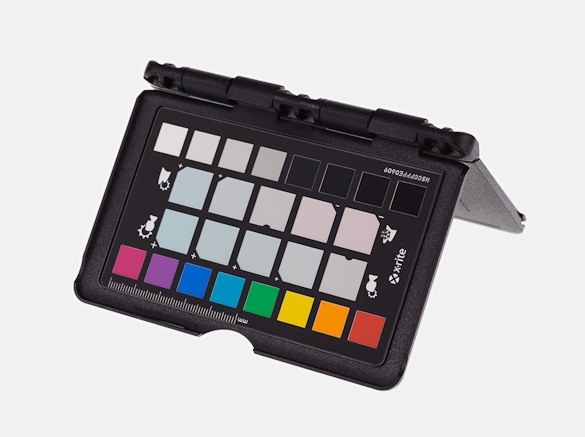
The Creative Enhancement Target

This target allows you to adjust your white balance using the White Balance Selector in Lightroom. Just use one of the patches in the two center rows to warm up or cool down your photo. You can also check and evaluate shadow details or highlight clipping and check and control color shifting. This target makes the Develop module come to life.
The passport includes two other targets as well:

A Classic target that’s used as an industry standard color reference. This is also what’s used to create the custom color profiles.

A White Balance target used to set your custom white balance in the camera during shooting.
For all of this to work you really need to complete the color management cycle and calibrate your monitor and printer. I use the Color Munki because it’s affordable, easy to use, and it works great. Click here for more info on the Color Munki.
Seth Resnick made a terrific video that shows the passport in action.
For more information visit the Passport page at X-Rite.