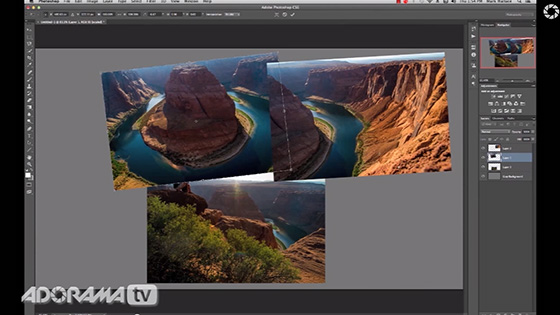
The Where To Start Chart is a tools designed to help beginning photographers navigate the settings on their camera. The chart is an interactive PDF file with links to hours of free photography tutorials. If you get to a spot and are unsure what something means, just click the box to watch a video about that topic.
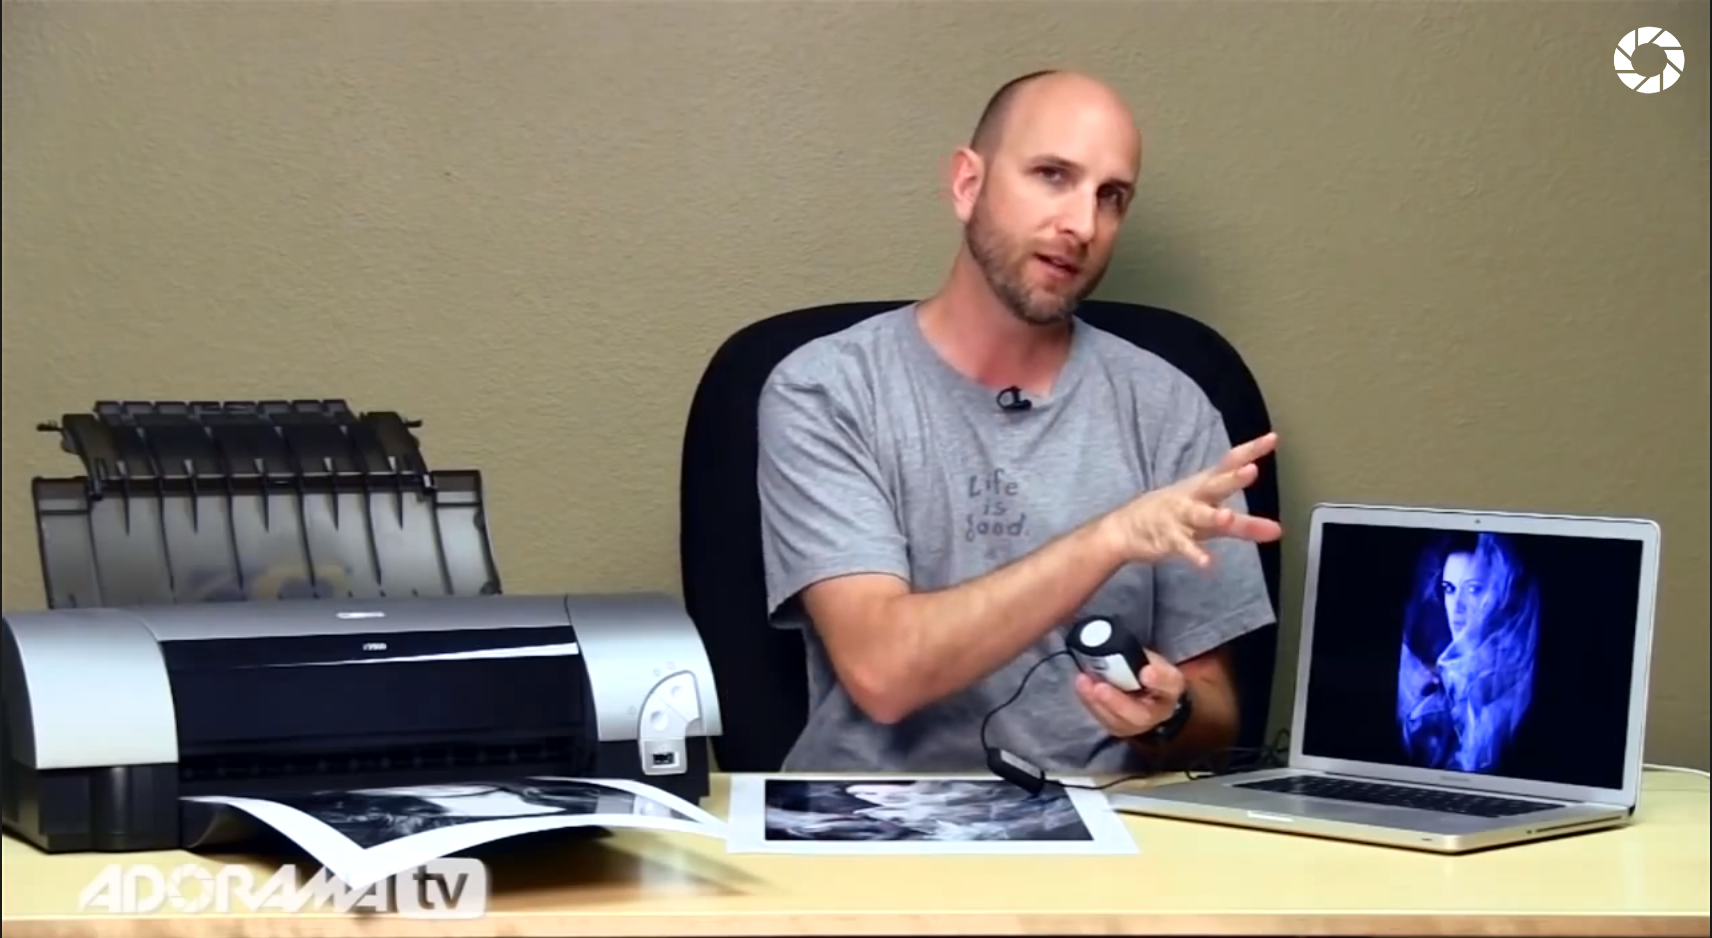
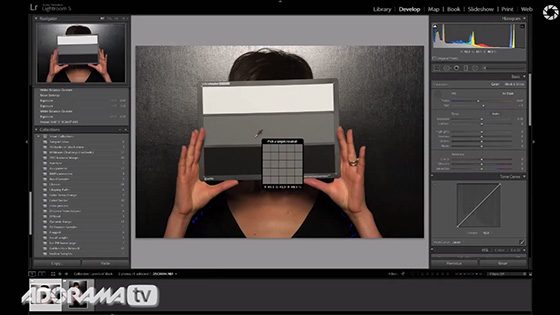
Calibrating Your Monitor
In this episode Mark walks you through the process of calibrating your computer monitor using X-Rite color management tools.
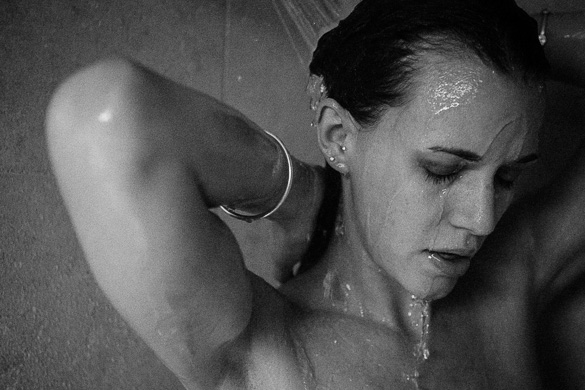
48 Hour Photoshoot
Years ago I became acquainted with the work of Mona Kuhn. Her work is stunning, but what I found most interesting was her process. Mona frequently develops friendships with her subjects and photographs them over days, weeks, even months. Making photos in this fashion allows her to capture moments that are more intimate and natural. It’s something I’ve always wanted to try.
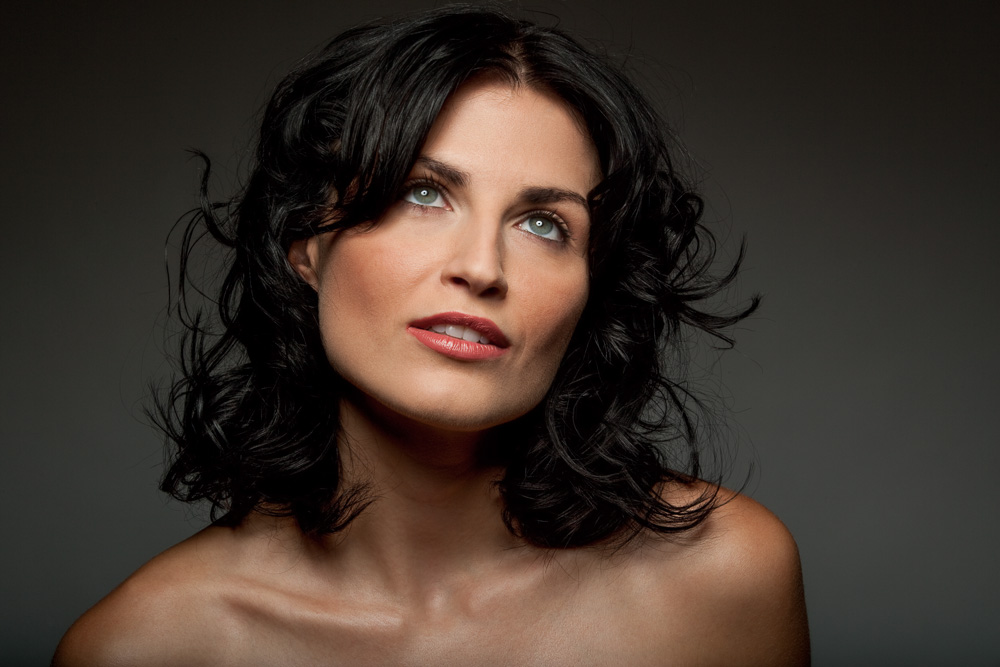
The Many Looks of the 1 Light Portrait
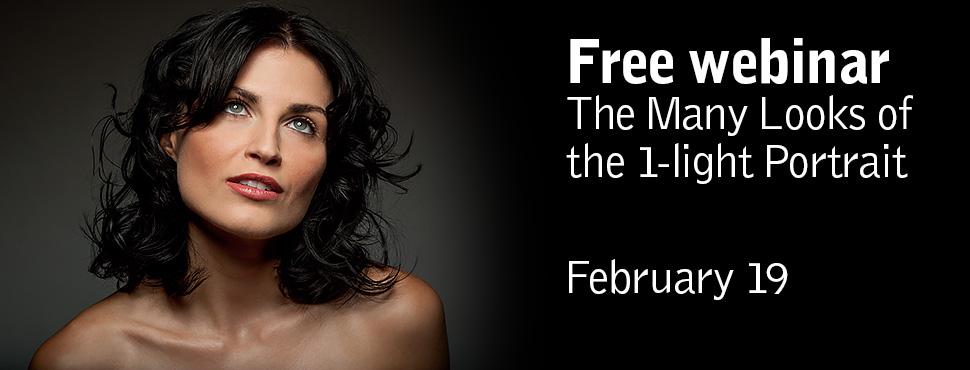
Join Profoto and Mark Wallace on February 19, 1pm EST and learn about the many looks that can be achieved using a 1-light set-up. It is all about light shaping.
Sign up today and join us for this free webinar.
The webinar takes place on February 19 at 7PM CET (10AM Los Angeles, 1PM New York, 6PM London, 7PM Paris, +2AM Beijing, +3AM Tokyo, +5AM Sydney).
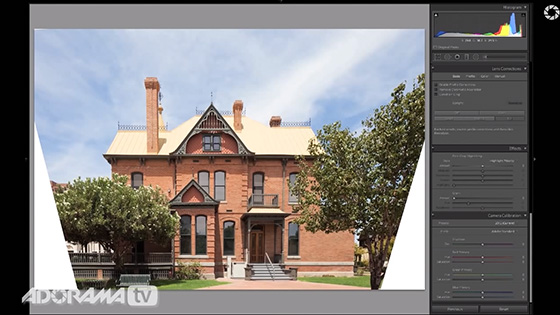
New Lightroom 5 Features
In this episode, Mark explores his 4 favorite features of the new Adobe Lightroom 5. He’ll talk about the Upright tool, Radial Gradients and his absolute favorite new feature – the healing brush.
Mark will show us how easy it is to fix a crooked photo and take something completely out of photo, all in Adobe Lightroom 5.
Gear used in this video
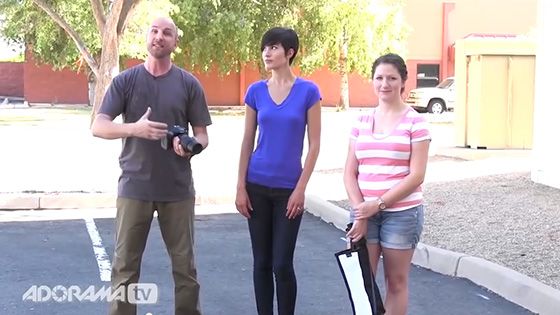
Fantastic Portrait Photography in Lousy Light
In this episode, Mark goes to “battle” against harsh light and an ugly background for an outdoor portrait. He’ll show you 5 quick tips to get a great portrait out of nearly any situation.
Gear used in this video
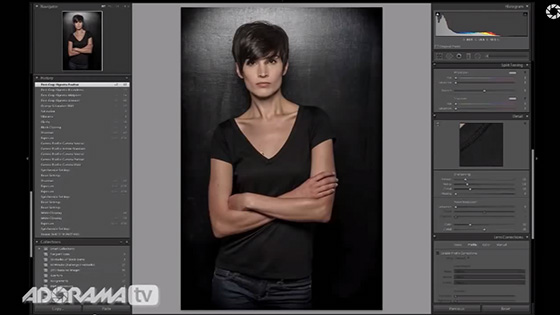
50 Shades of Black
Did you know that the colors in your photo aren’t always as clear as “black” and “white”?
In this episode, Mark shows you how to adjust the black levels in a photos to get the most punch.
Gear used in this video
- Nikon D3S Body Only
- Nikon 70-200mm f/2.8G AF-S VR II Zoom-Nikkor ED-IF Lens
- PocketWizard Plus III Transceiver #801-130
- Benro A2690TBH1 Travel Angel Aluminum Tripod
- Profoto D1 1000 Watt Second Air Monolight Flash with Built-in Reflector & Power Cable, Coated Flash Tube
- Matthews Baby Junior Triple Riser Stand with Wheels
- Profoto White Softlight Reflector (beauty dish)
- Adobe Photoshop Lightroom V5 Software, Windows and Mac OS
High Pass Filter
In this episode, Mark shows how he uses a high pass filter in Photoshop CS6. He’ll show some quick skin retouching, and how he uses the high pass filter to get a much sharper image.
Gear used in this video
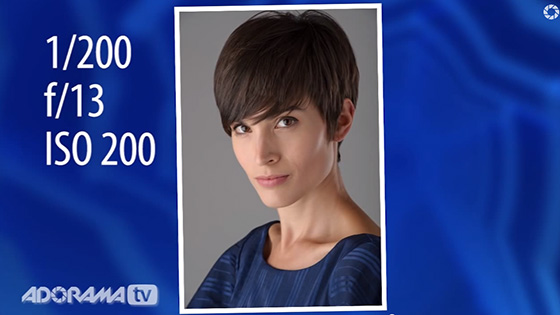
Mark’s Go-To Lighting Setup
It’s always a good idea to have a few lighting setups that you know inside out. This gives you a great safety zone if you get stuck during a shoot.
In this episode, Mark explains one of his go-to lighting setups. Using a large 4×6′ softbox as the key, white foam core for a fill and a small 2×3′ softbox as a kicker, Mark gets a beautiful portrait.
Gear used in this video
- Nikon D3S Body Only
- Nikon 70-200mm f/2.8G AF-S VR II Zoom-Nikkor ED-IF Lens
- PocketWizard Plus III Transceiver #801-130
- Benro A2690TBH1 Travel Angel Aluminum Tripod
- Profoto D1 1000 Watt Second Air Monolight Flash with Built-in Reflector & Power Cable, Coated Flash Tube
- Matthews Baby Junior Triple Riser Stand with Wheels
- Profoto Softbox 4×6′
- Savage Nucor, Plain Uncoated Foam Mount Board, 40×60″, Pack of 12 Boards
- Sekonic L-758DR DigitalMaster, Programmable Digital Flash & Ambient Exposure Meter
- Profoto 2×3′ RFi Softbox, Rectangular
- Savage Seamless Background Paper, 107″ wide x 50 yards, Super White, #1
Photoshop Actions
In this episode Mark shows you how to streamline your editing workflow by creating actions in Photoshop CS6. Anything you do in Photoshop can be “recorded” into an action that can make bulk processing images a breeze.
Gear used in this video

